Ever walked out of a nail salon in October and realized you just dropped eighty dollars on four plastic spider stickers? You are not alone. Getting a crisp, high-end spooky aesthetic does not require choosing between holiday nails and your grocery budget.
Black and orange often get a bad reputation for looking tacky or strictly costume-grade. When you balance deep obsidian tones with muted terracotta, punchy neon tangerine, or amber jelly polishes, the pairing looks sophisticated. If you want festive nails without a salon appointment, grab your top coat and detail brush: you can recreate these studio looks right at your desk.
1. The Midnight Ombré Aura

Aura nails continue to trend everywhere, and this moody black-to-pumpkin fade shows why. Start with a solid, high-shine black base and let it dry completely. Then, lightly tap a warm, spiced-pumpkin shade into the center of your nail bed using a damp makeup sponge.
The secret to getting an airbrushed look at home? Blend outward in thin micro-layers. Seal the design with a thick gel-effect top coat to smooth out any rough sponge texture instantly.
2. Glossy Black French with Neon Orange Smile Lines
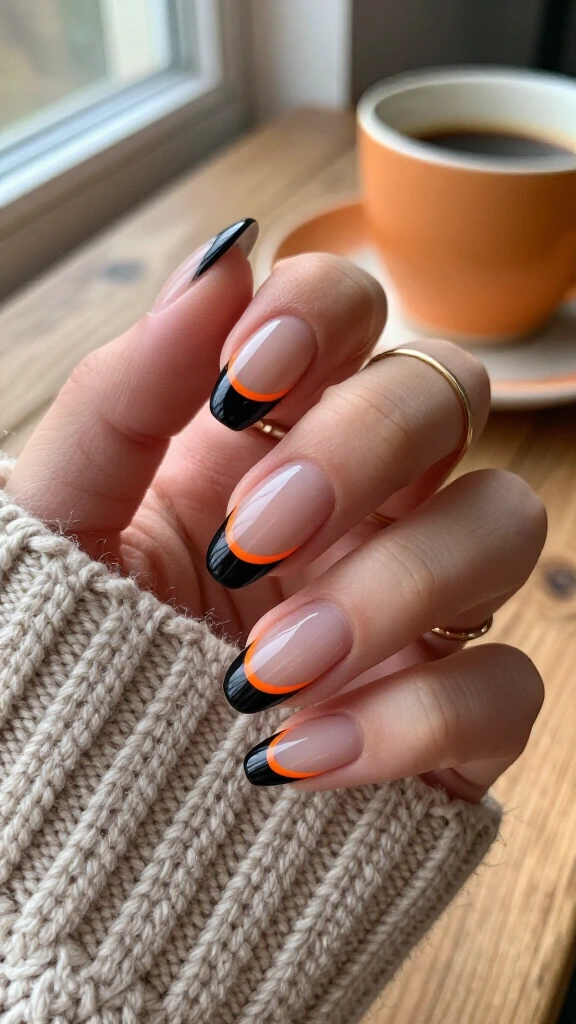
French tips remain a classic, but swapping white for an inky black tip gives the manicure a modern edge. Add a sharp detail by painting a razor-thin neon orange micro-line directly beneath the black edge.
Use a long striping brush to pull off this crisp graphic line in a single, confident stroke. The clean contrast works just as well with structured blazers as it does with oversized sweaters. If you want more high-contrast ideas, browse these 23 Halloween nails black and orange looks for seasonal styling options.
3. Tortoiseshell Accents Paired with Jet Black Gloss
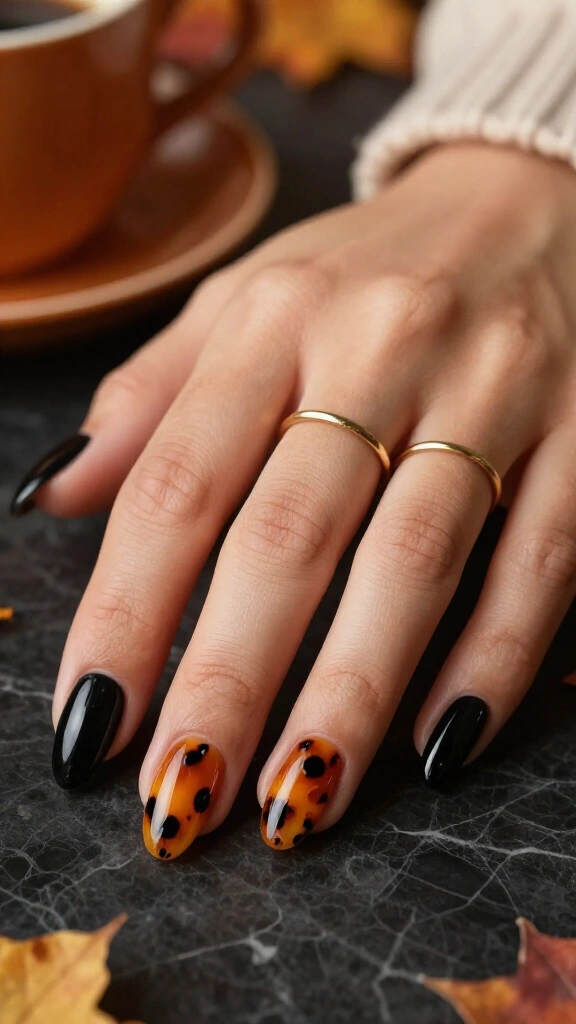
Tortoiseshell patterns always look polished. You can easily build this look at home using an amber jelly polish alongside deep brown and black lacquers. Layer translucent orange jelly polish with irregular black spots, gently softening the edges with a thin detail brush.
Pair these tortoiseshell accents with solid, ultra-glossy black polish on your index and pinky fingers. Beauty writers at Byrdie point out that jelly lacquers create a layered depth that mimics real poured resin. This design carries black and orange well past October 31 without feeling like a costume.
4. Minimalist Spiderwebs on Burnt Orange
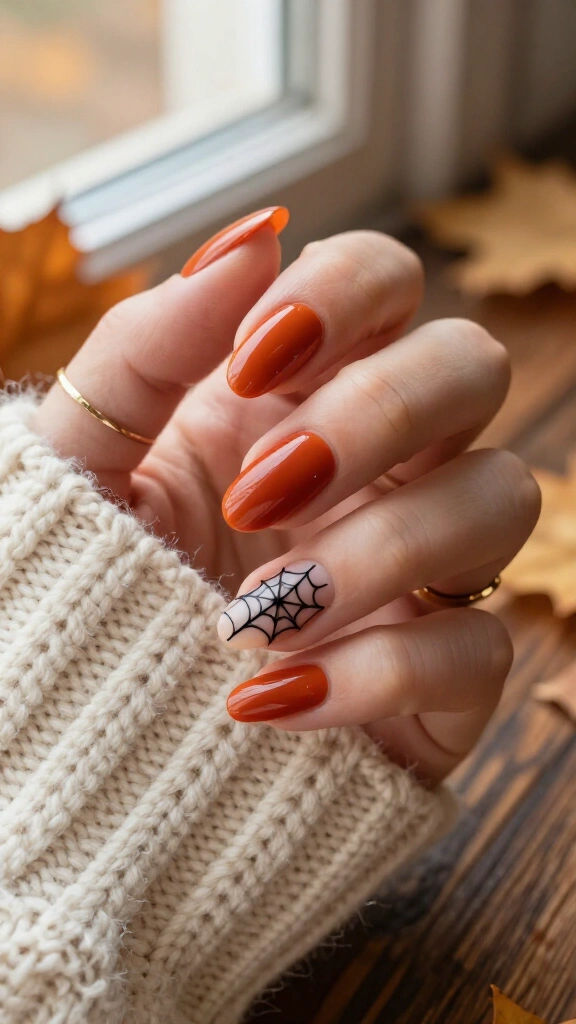
Skip the bulky sticker decals. Instead, coat your nails in a dusty terracotta or burnt orange base that complements classic autumn tones.
Using an opaque black gel polish and an ultra-fine detail brush, sketch delicate web lines branching strictly from the outer corners of your accent nails. Keep every line hair-thin. Restrained lines keep the finished set clean and editorial rather than messy.
5. Matte Black Stiletto with Molten Chrome Orange Drips

Contrasting finishes instantly elevate a manicure. Shape your nails into a sharp stiletto or tapered almond, apply two coats of velvety matte black polish, and let the base dry fully.
Next, use clear builder gel to draw raised droplet patterns running down from the cuticle. Rub a metallic copper-orange chrome powder over the cured builder gel, then cap only the raised drips with a glossy top coat. The result is a tactile, molten-metal effect with strong Gothic appeal. For similar dark aesthetics, check out these witchy Halloween nails.
6. Modern Mod Checkered Swirls
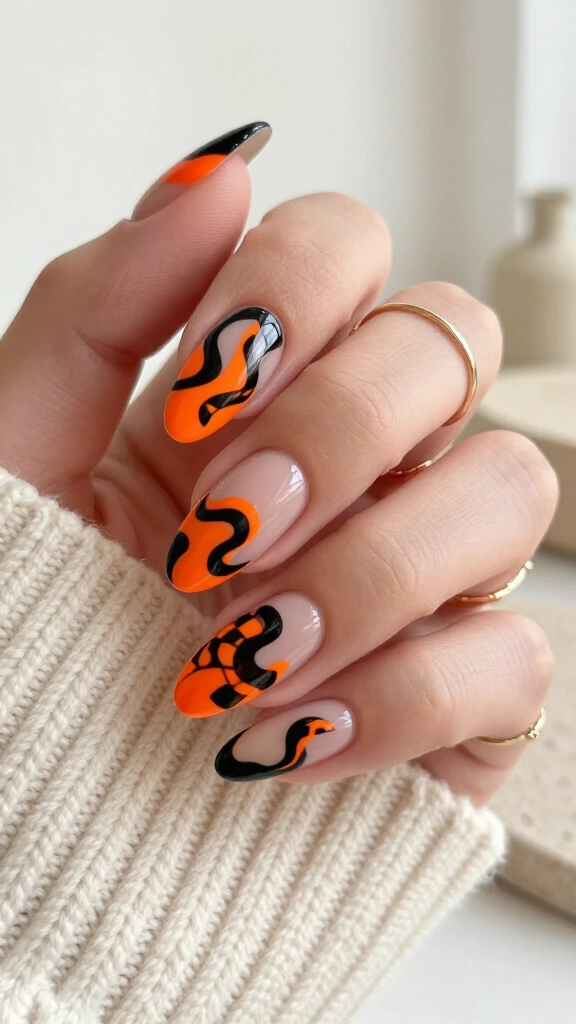
Fluid retro waves bring dynamic energy to negative space designs. Paint winding ribbons of tangerine and solid black across a sheer nude base.
Fill in tiny checkered sections inside selected curves to give the pattern a structured graphic feel. The bare negative space keeps the manicure light and modern. If your hands tend to shake, rest your dominant pinky flat on the table while drawing your curves.
7. Negative Space Jack-o’-Lantern Silhouettes
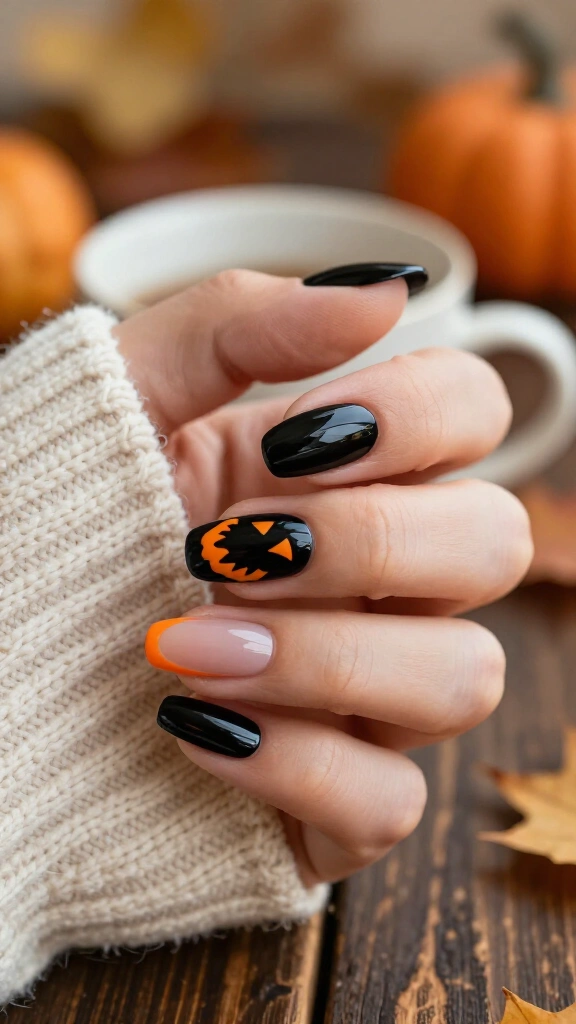
Pumpkin art does not need to look cartoonish. Prep your nails with a clear strengthening base coat, leaving your natural nail plate visible.
Using a rich black lacquer, paint the upper half of your nail with sharp geometric cutouts that mimic the carved smile and eyes of a jack-o’-lantern. Trace the perimeter with a fine line of burnt orange. This negative space approach gives you a clever seasonal pattern that grows out cleanly without an awkward gap at the cuticle.
8. Burnt Orange Magnetic Cat-Eye with Obsidian Borders
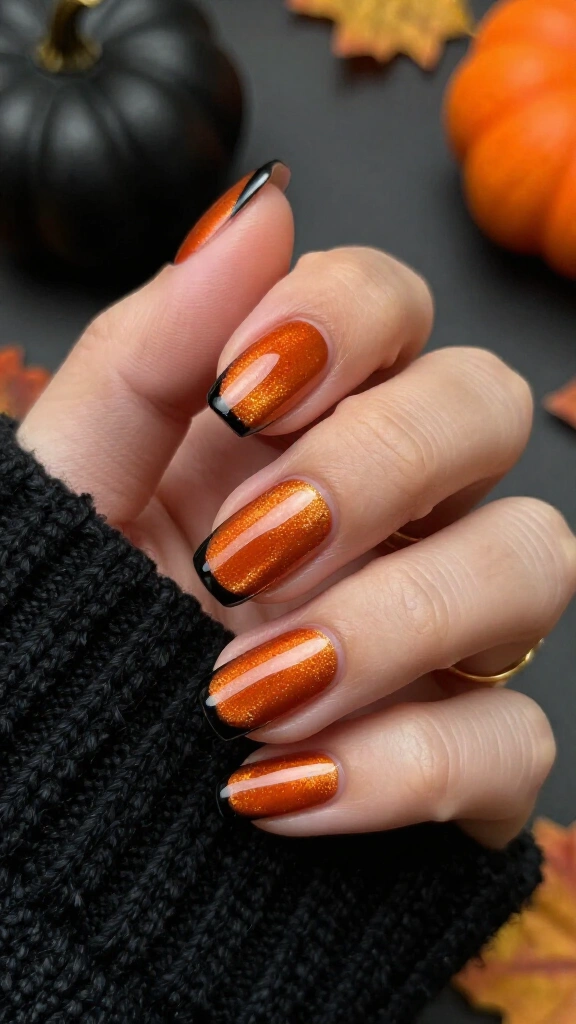
Magnetic polishes create a luminous velvet effect that shifts under direct light. Apply a burnt orange cat-eye polish and hold the magnet diagonally over the wet nail to gather the shimmer into a sharp light beam.
Once the base dries, outline the outer edge of each nail with a precise black border. This technique (often called a framed nail) adds structure and turns the magnetic shimmer into something resembling a polished stone set in dark metal.
9. Sheer Tangerine Jelly Nails with Black Starbursts
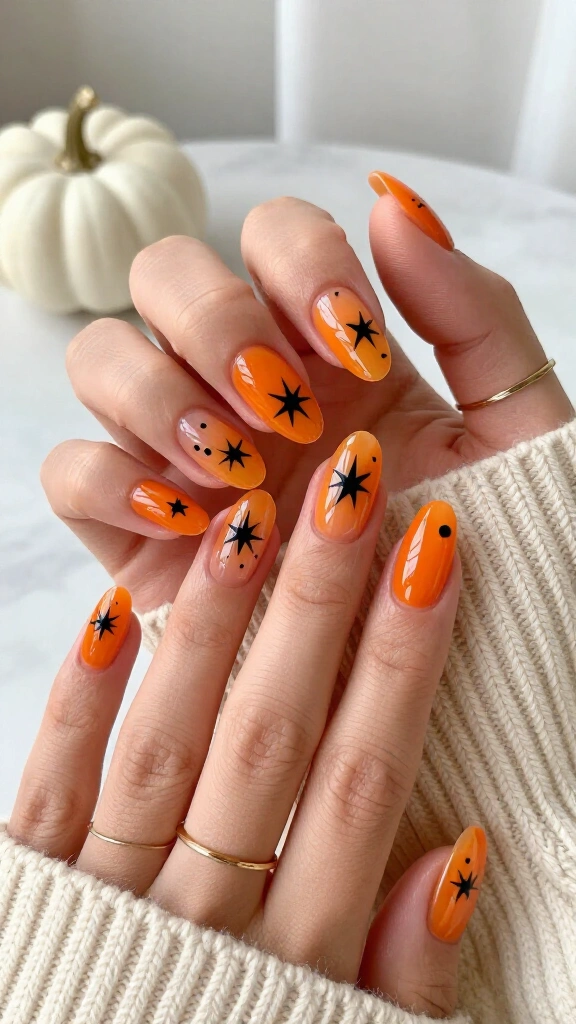
Translucent jelly polishes give nails a glass-like finish with zero heavy opacity. Apply two thin coats of a bright orange jelly lacquer over your natural nails.
Place tiny four-point black starbursts across the nail using a wooden dotting tool or toothpick. The contrast between the floating black stars and the sheer orange base adds noticeable depth. Pro tip: Apply a generous layer of quick-dry top coat to level out any raised spots from the dotting tool.
Salon-Worthy DIY Prep Checklist
- Dehydrate the nail plate with pure isopropyl alcohol before you apply your base coat.
- Gently buff the surface to remove oil and help polish grip the nail.
- Invest in a fine striping brush: it replaces dozens of expensive specialty tools.
- Hydrate your cuticles daily with pure jojoba oil to prevent peeling, a step frequently highlighted by dermatologists in Allure.
10. Abstract Black Micro-Lines on Creamsicle Shimmer
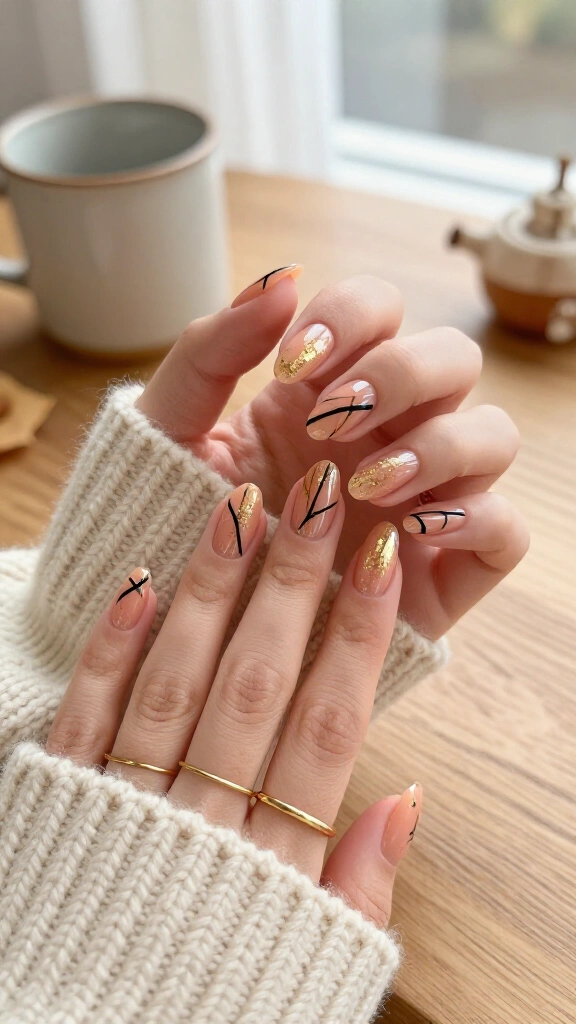
If you prefer lighter seasonal palettes, pick a soft peach or creamsicle base packed with fine gold shimmer flakes.
Cut through the soft base color by painting sharp, intersecting black micro-lines across each nail in varying geometric angles. The balance between warm shimmer and crisp black lines looks creative and modern. It fits casual October plans and transitions naturally into November.
11. Candy Corn Accent Nail with Ultra-Glossy Black
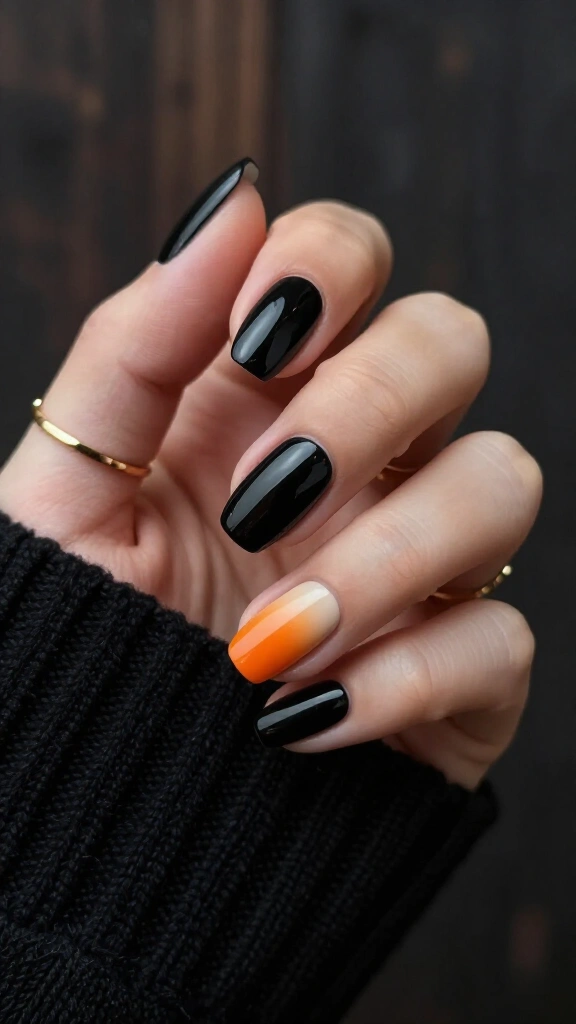
If traditional yellow candy corn designs feel too bright, reframe the concept through a moody statement nail.
Paint four fingers in an opaque, high-gloss black polish. On your ring finger, build a subtle gradient using soft cream at the cuticle, clean orange in the middle, and smoky charcoal at the tip. This restrained interpretation keeps the holiday reference clever and subtle.
12. Gold Leaf & Marbled Smoke over Burnt Orange
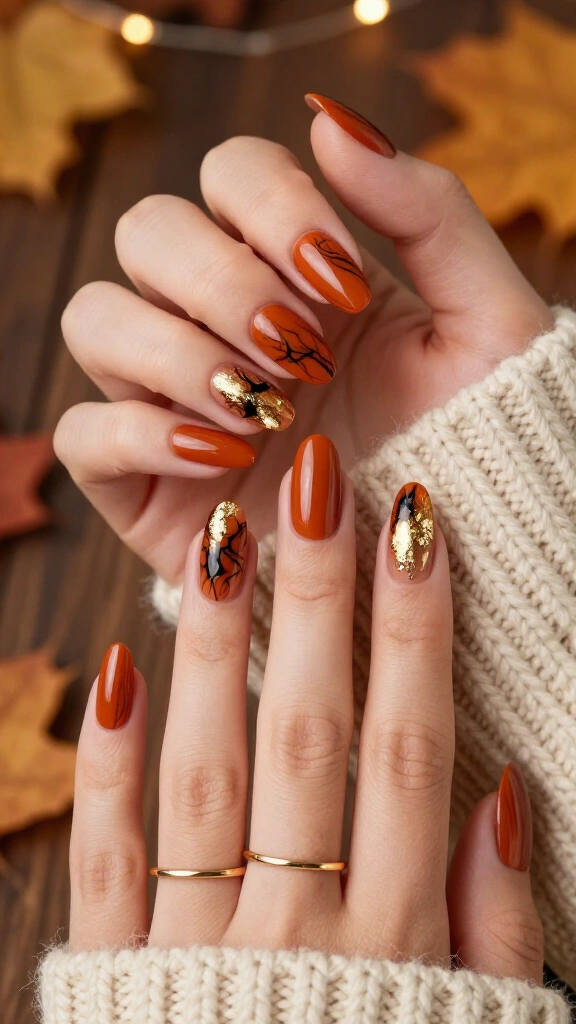
Marbled nails look complex, but they require very little technical precision. Paint a base of warm rust orange and allow it to dry.
Place a drop of clear top coat on the nail, add a tiny dot of black polish into the wet drop, and swirl the colors together with a fine detail brush to create wispy smoke trails. While the polish remains tacky, press small flakes of imitation gold leaf into the design. For more ideas that fit the entire season, look through these cute fall Halloween nails.
13. High-Fashion Grunge Splatter

Bring 90s punk texture to your manicure with a quick splatter technique. Start with a solid base of rich safety-orange polish.
Dip a short, stiff brush into black nail lacquer, hold it a few inches from your hand, and flick the bristles to cast fine speckles over the nail. Protect your skin during cleanup by painting liquid latex around your cuticles before you flick the polish. Finish with a matte top coat for a worn, textured appearance.
14. Celestial Gold Constellations over Sunset Gradient
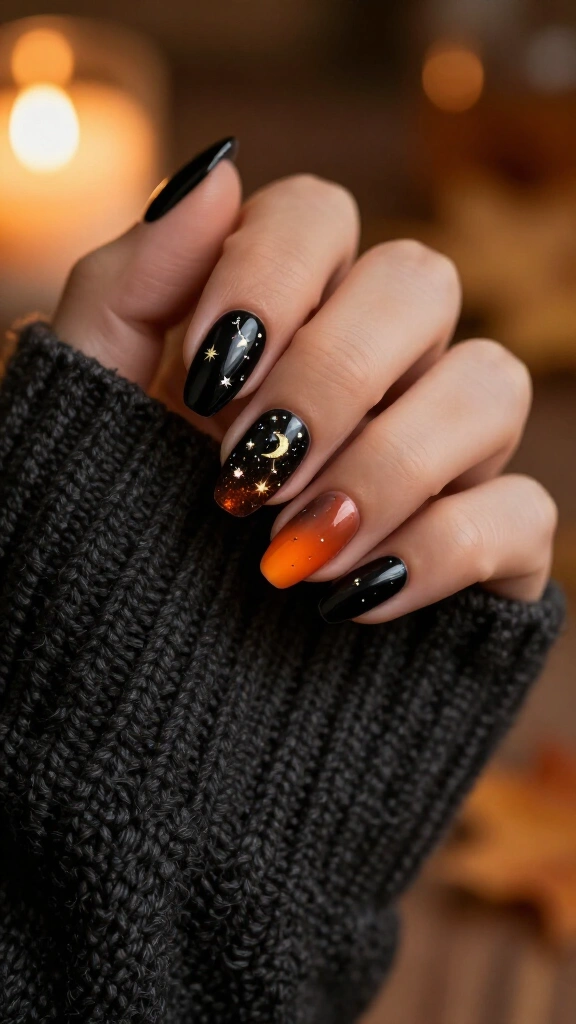
Create a dark evening sky by blending deep black at the cuticle down into a rich orange shade near the free edge. This gradient provides an ideal dark backdrop for celestial nail art.
Use a fine brush or metallic decals to place small crescent moons and star patterns across the blend. The pairing of deep shadow and warm orange creates a moody, atmospheric set perfect for late October.
15. Double Micro-French with Obsidian Tips and Tangerine Moons
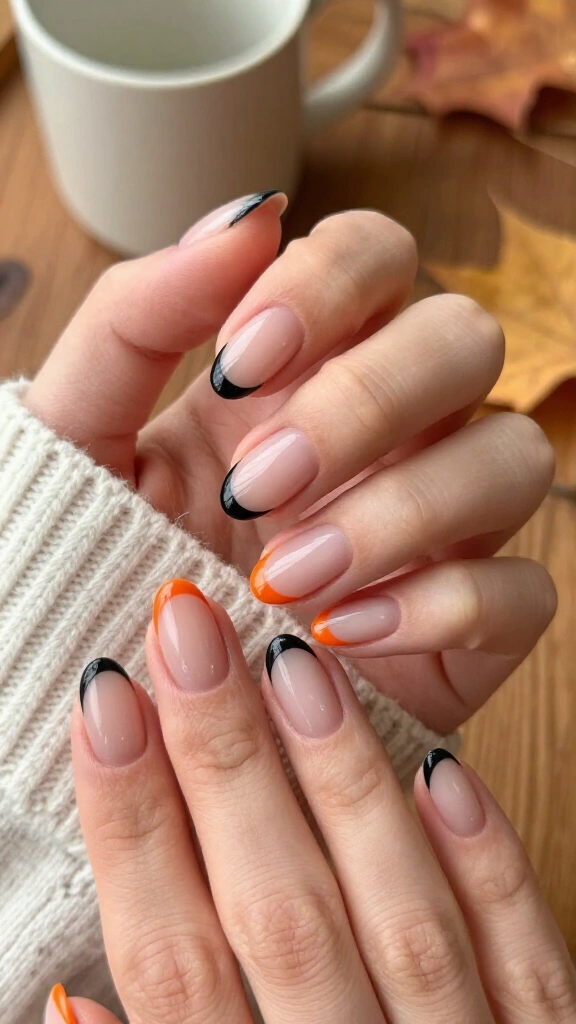
Negative space manicures remain practical for DIY sets because they grow out without harsh lines. Keep the central body of your nail bare with a clear base coat.
Paint a micro-thin black line along the free edge of your nail. Mirror that curvature by drawing a matching half-moon arch of bright orange along your cuticle line. This double-banded framing creates the illusion of longer nail beds with minimal effort.
16. Velvet Finish Rust & Onyx Swirls
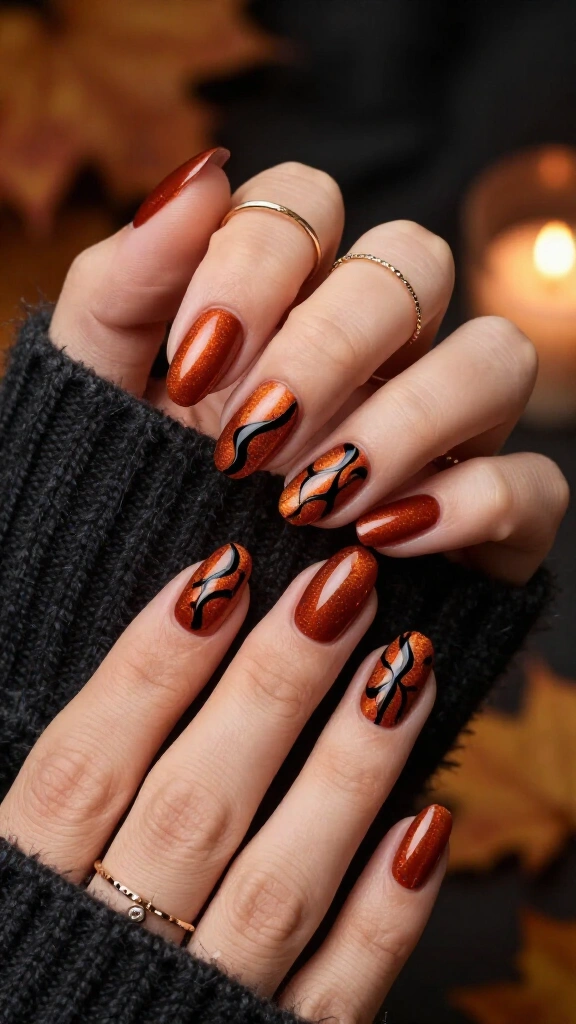
Velvet textures add distinct dimension to simple manicures. Start by painting your nails with a deep rust magnetic polish, drawing the shimmer toward the surface with your magnet.
Paint fluid ribbons of solid black over the dry magnetic base. The high-gloss black curves resting against the light-catching velvet background produce a multidimensional finish that rivals professional gel sets.
17. High-Contrast Black Lace over Sunset Amber
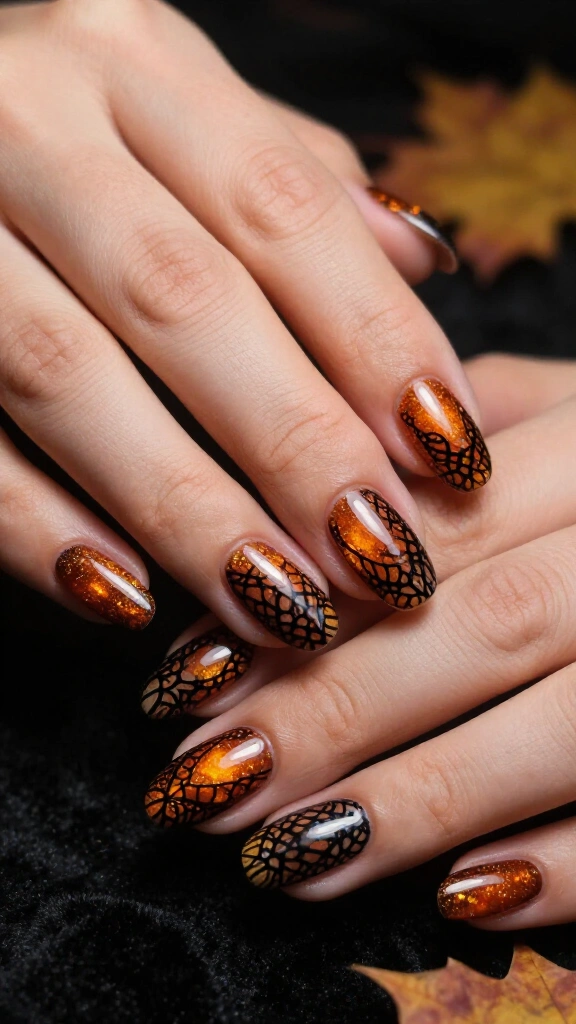
Finish the season with an intricate lace overlay inspired by Victorian textiles. Coat your nails in a glowing amber shade with fine pearlescent particles.
Use a stamping plate or fine nail decals to lay delicate black mesh and lace patterns across the orange base. Apply a glass-finish top coat to secure the delicate pattern and protect the fine lines from chipping throughout the week.
Conclusion
Creating sharp orange and black Halloween nails does not require professional equipment or salon prices. By relying on graphic striping, negative space, matte and gloss textures, and deep terracotta shades, you can create clean, striking manicures at home. Pick your favorite design, prep your brushes, and start painting your set this weekend.