Few people have two hours to sit in a salon chair during the holiday rush. Between wrapping presents and cooking dinner, long acrylics usually snap before Christmas Eve arrives. Short nails carry festive colors just as well, and you do not need professional training to create great holiday manicures at your kitchen table.
Grab a few bottles of polish, a wooden toothpick, and a flat surface. We gathered 14 short Christmas nail designs easy enough to DIY in minutes, so you can spend less time waiting for coats to dry and more time enjoying the season.
1. Minimalist Candy Cane French Tips
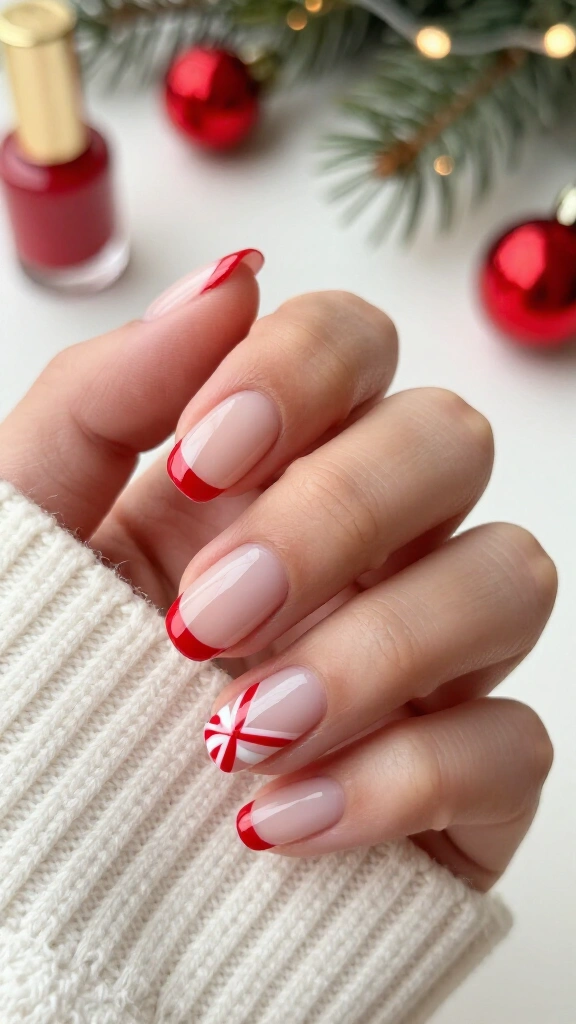
Give the traditional French manicure a holiday update without touching striping tape. Brush a sheer nude base coat over clean nails and let it dry completely. Next, paint a crisp red stripe across the edge of each tip. Dip the sharp tip of a toothpick into white polish and paint two quick diagonal lines across the red stripe.
Micro tips make short nails look longer without taking up extra nail space. Coat the design in a glossy top coat to protect the edges while you open gifts.
2. Micro Glitter Sparkle Cuticles
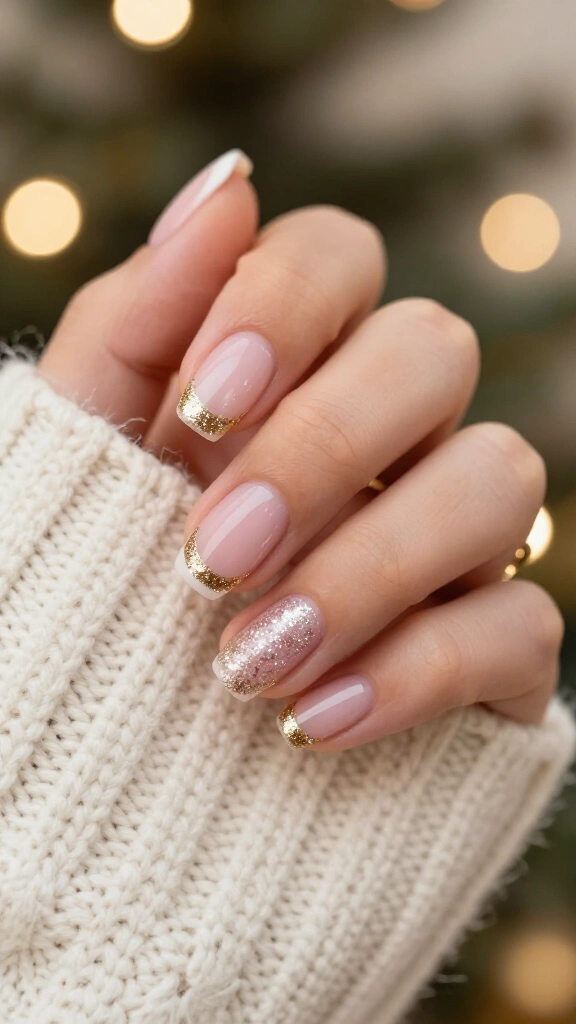
Cuticle cuffs provide an easy option when you want sparkle without drawing precise lines. Paint each nail with a milky pink or sheer winter white polish. Then, take a dense gold glitter polish and paint a thin crescent curve right against your cuticles using a fine detail brush.
This reverse French placement catches the light every time your hands move. The glitter also conceals new nail growth, keeping the manicure fresh through New Year’s Eve.
3. Tiny Dot Christmas Tree
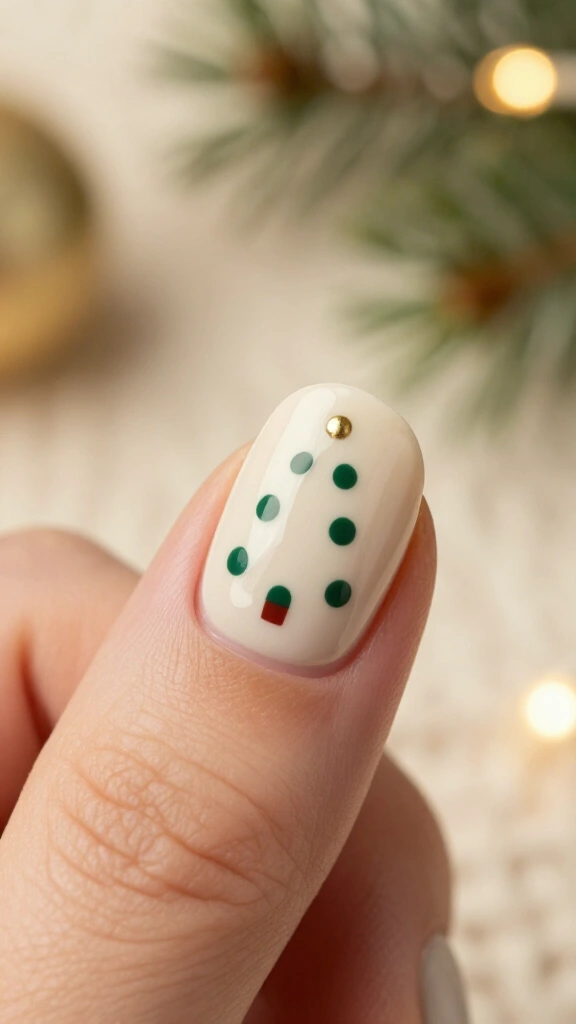
Skip the struggle of painting straight pine needles by hand. Paint an accent nail in an eggshell neutral shade, then dip the round tip of a bobby pin into dark hunter green polish. Press three dots along the bottom of the nail, two dots directly above them, and one dot at the top to build a neat triangle.
Add a single dot of metallic gold polish to the top of the tree. For more simple dotting techniques, read our collection of 18 simple Christmas nail art designs that look stunning without any skill.
4. Emerald Green Negative Space Waves
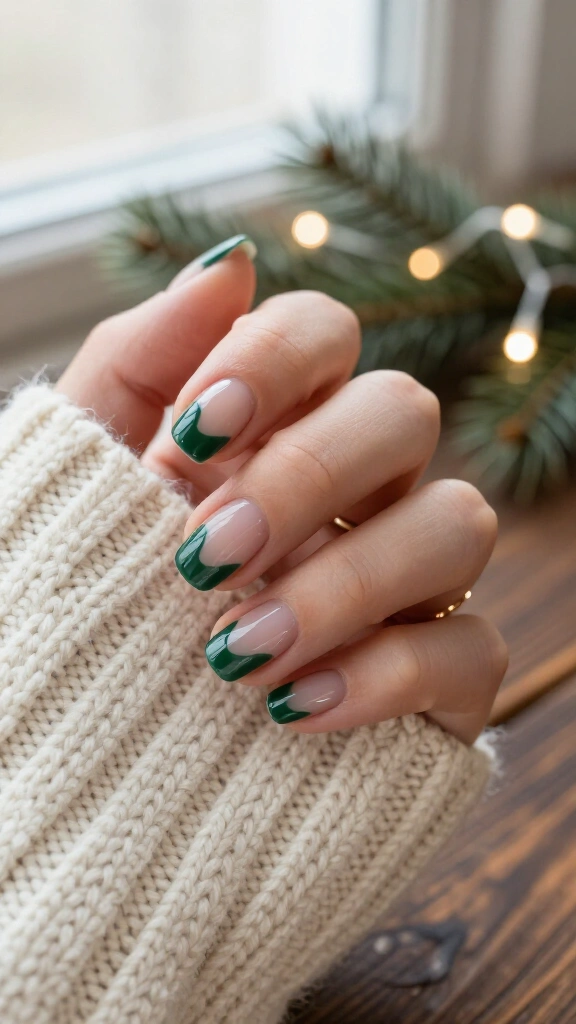
Negative space designs hide tip wear far better than full-coverage polish. Apply a clear base coat across every nail. Next, take a deep forest green lacquer, similar to the seasonal tones recommended by Allure’s beauty editors, and sweep your brush in a smooth curve across one side of each tip.
You do not need matching curves on every finger, which removes the pressure to create symmetrical art. Finish with a quick-dry top coat to wrap up your set in under ten minutes.
Pro Tip for Clean Lines
Dip a flat synthetic concealer brush in pure acetone and run it along the edge of your green curve. A quick swipe cleans stray polish and leaves a razor-sharp border.
5. Shimmering Champagne Accent Nail
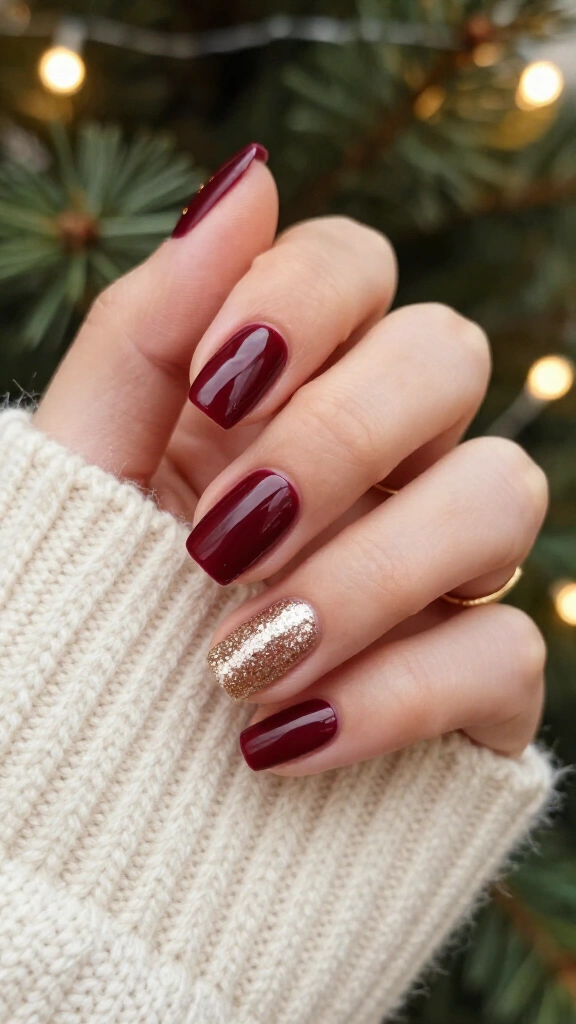
If an event starts in twenty minutes, this two-tone set works fast. Coat four fingers in a deep holiday bordeaux, then paint your ring finger with an opaque champagne glitter polish. Two contrasting shades deliver a striking finish without requiring extra tools.
The dark cherry tone complements short square shapes, while the champagne glitter adds immediate holiday brightness. This classic color combination works every single winter.
6. Dainty Holly Berry Accent
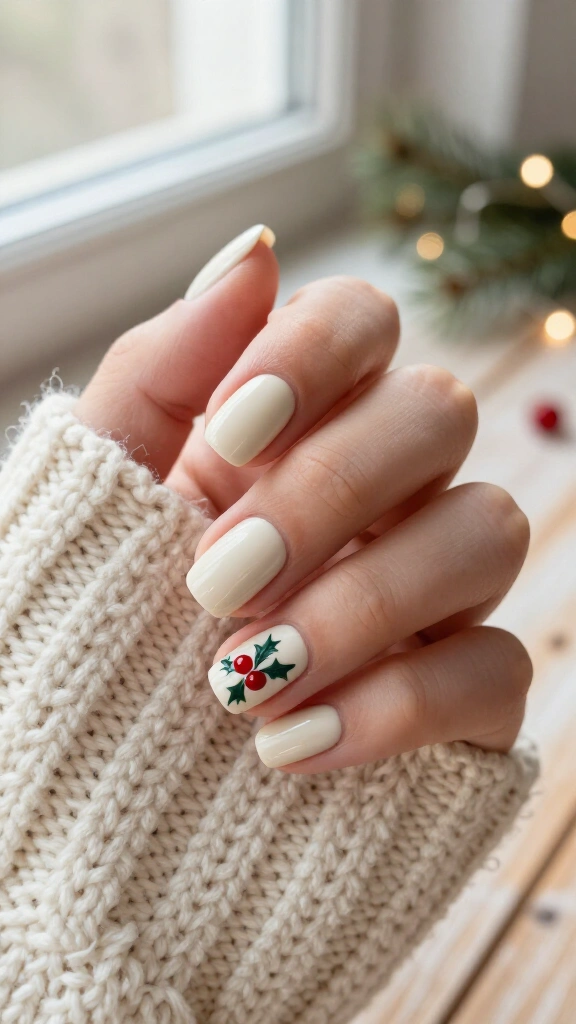
Bring a touch of greenery to your nails with a fast botanical accent. Paint your nails with a soft cream base to create a warm background. Using the tip of a toothpick, place two small red dots right beside each other near the side edge of your ring fingernail.
Flick two tiny green strokes outward from the red dots to form the holly leaves. This accent takes less than a minute to complete and adds subtle seasonal detail to bare hands.
7. Festive Crimson Velvet Gloss
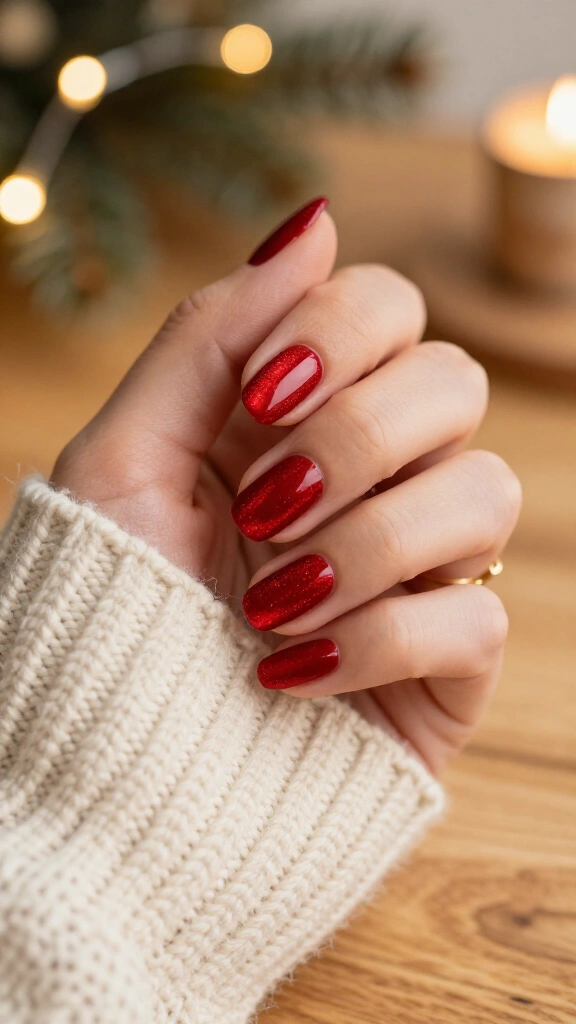
Great nail art often comes down to the right bottle rather than complex brushwork. Pick up a ruby red magnetic velvet polish, a favorite finish frequently featured on Byrdie. Apply your first coat normally, apply your second coat, and immediately hold the magnet over the wet nail for ten seconds.
The magnet pulls the reflective particles toward the center of your nail, producing a rich ribbon effect. Short, rounded nails carry this deep velvet texture exceptionally well.
8. Snowflake Dotting-Tool Magic
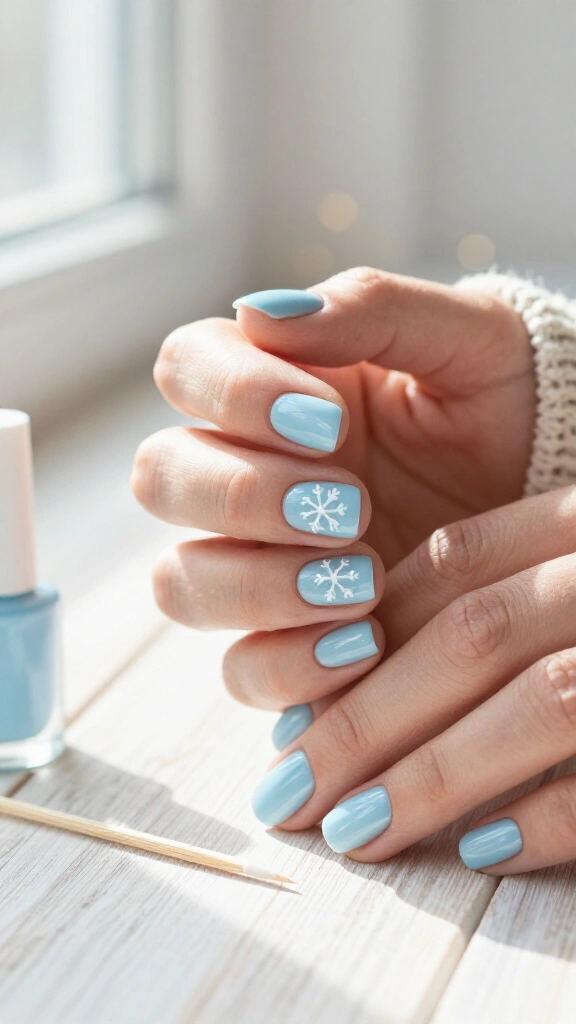
You do not need a tiny detail brush to draw clean winter patterns. Paint your nails in a pale ice-blue shade. Place one white dot in the center of the nail using a toothpick, then place four tiny dots around it in a cross formation.
Drag the toothpick tip through the wet outer dots toward the center dot to create a crisp snowflake. You can find more simple dotting methods in our guide covering simple holiday nail ideas you can recreate at home.
9. Metallic Silver Tinsel Stripes
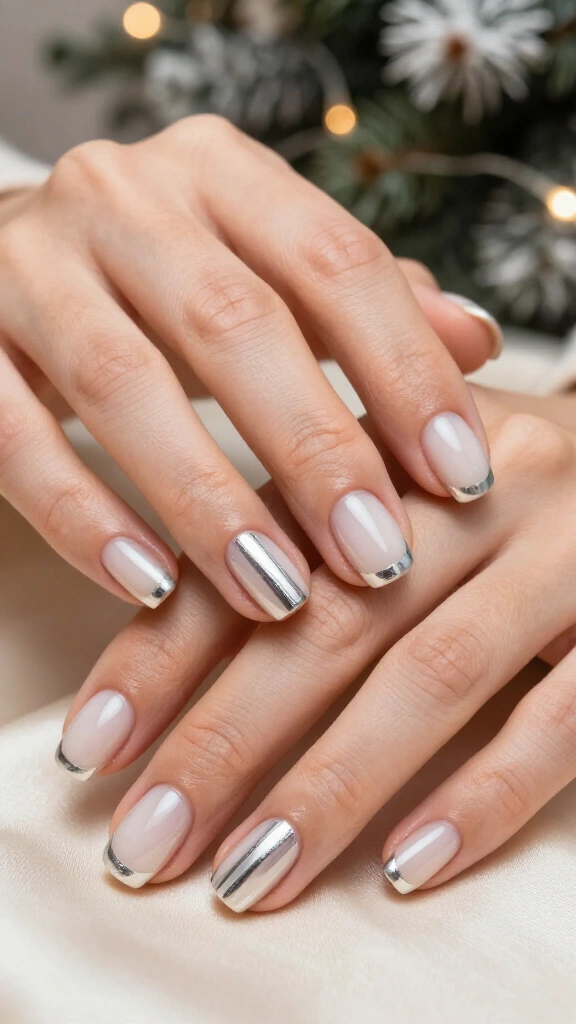
Bring the silver shine of vintage tree tinsel to your hands with metal striping tape. Apply a sheer white wash over your natural nails. While the base layer remains slightly tacky, press a single strip of silver metallic tape straight down the center of each nail plate.
Trim the ends flush against your nail edge with cuticle nippers, then paint two coats of clear top gloss over the tape. Vertical lines draw the eye upward, making short nails look neat and long.
10. Plaid Tartan Accent Strips
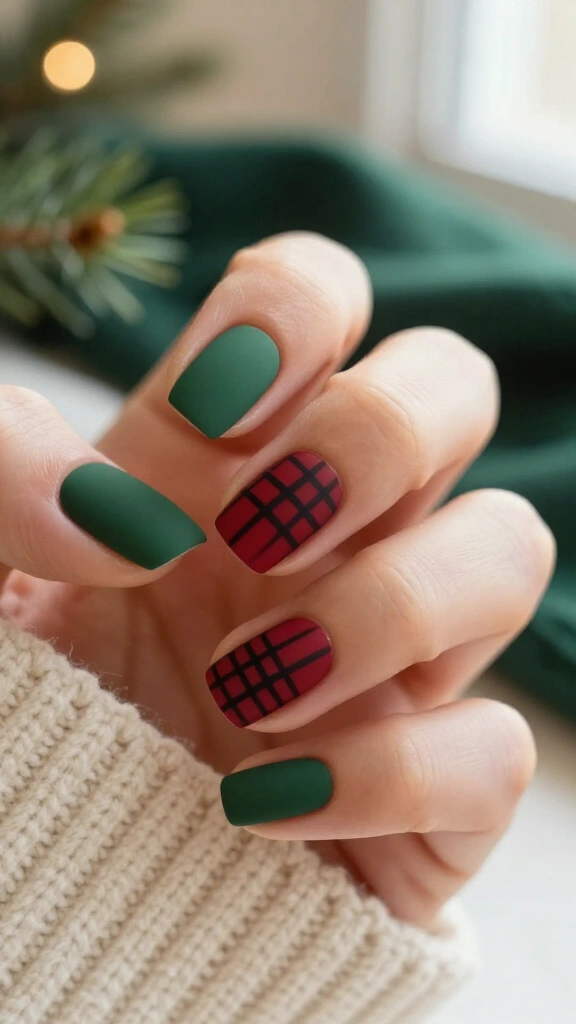
Plaid matches the December season, but drawing straight lines across all ten fingers takes too long. Save time by painting nine nails in a dark forest green and saving one feature nail for the plaid pattern. Coat that feature nail in warm cherry red polish.
Dip a thin brush into sheer black polish and draw one vertical stripe and one horizontal stripe across the red base. Top with a matte coat to mimic the texture of winter wool.
11. Frosted Berry Ombré
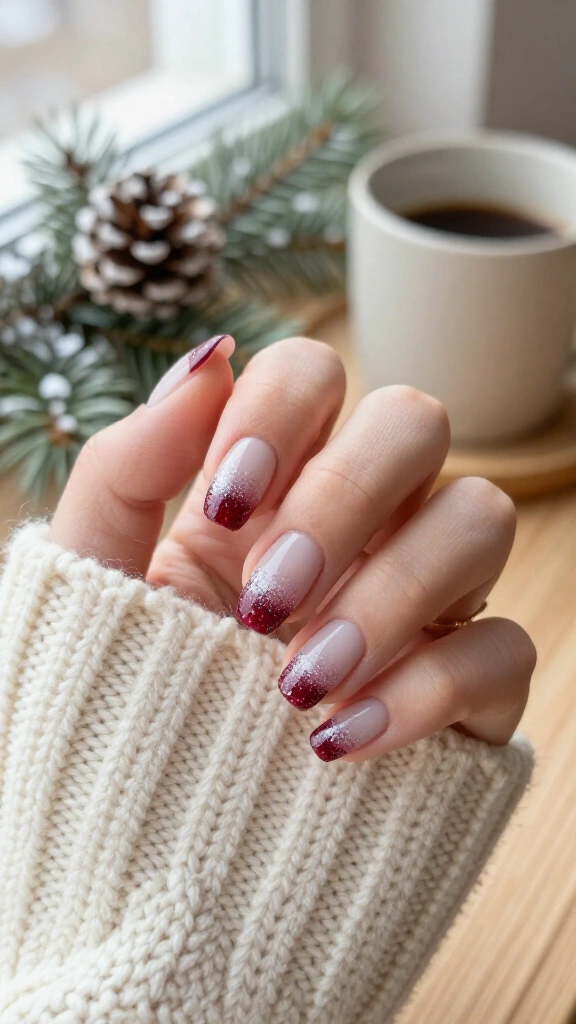
Gradient tips pull attention toward the edge of the nail, flattering shorter lengths. Paint your nails with an off-white or pale blush base. Dab a small drop of cranberry polish beside a drop of your base shade on the corner of a clean makeup sponge.
Press the sponge lightly over the top third of each nail to transfer the soft berry gradient. A quick layer of fine silver glitter over the tip adds the crisp finish of winter frost.
12. Glossy Cranberry with Gold Foil Flecks
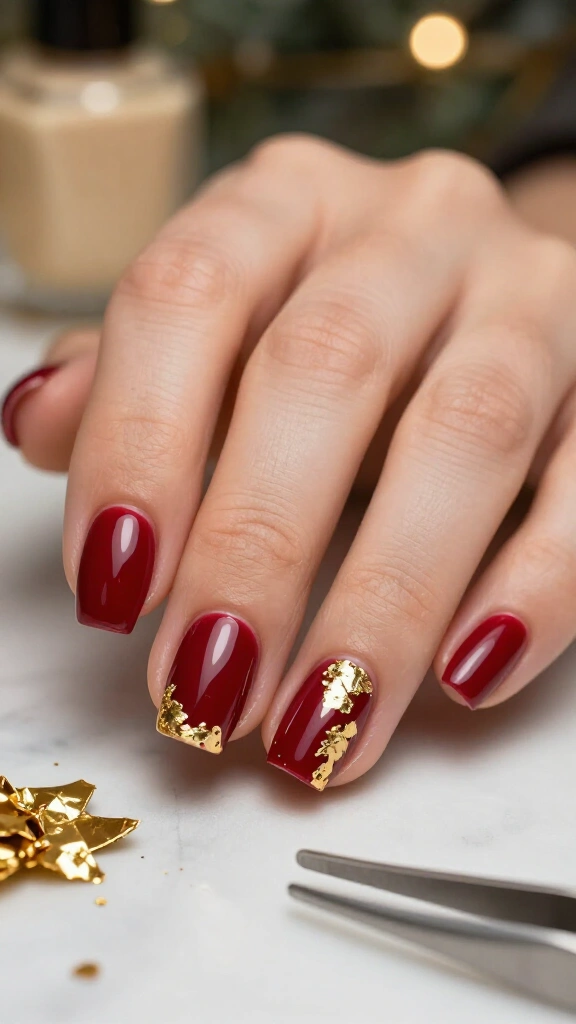
Nail foils provide high shine without demanding hand-painting skills. Apply two coats of rich cranberry polish. While the second coat feels slightly sticky, pull tiny flecks from a craft gold foil sheet with tweezers and set them onto the corners of each nail.
Because foil tears into irregular shapes, every placement looks intentional. Press the gold foil flat with a dry fingertip, then seal the surface with a thick clear top coat.
13. Peppermint Swirl Accent
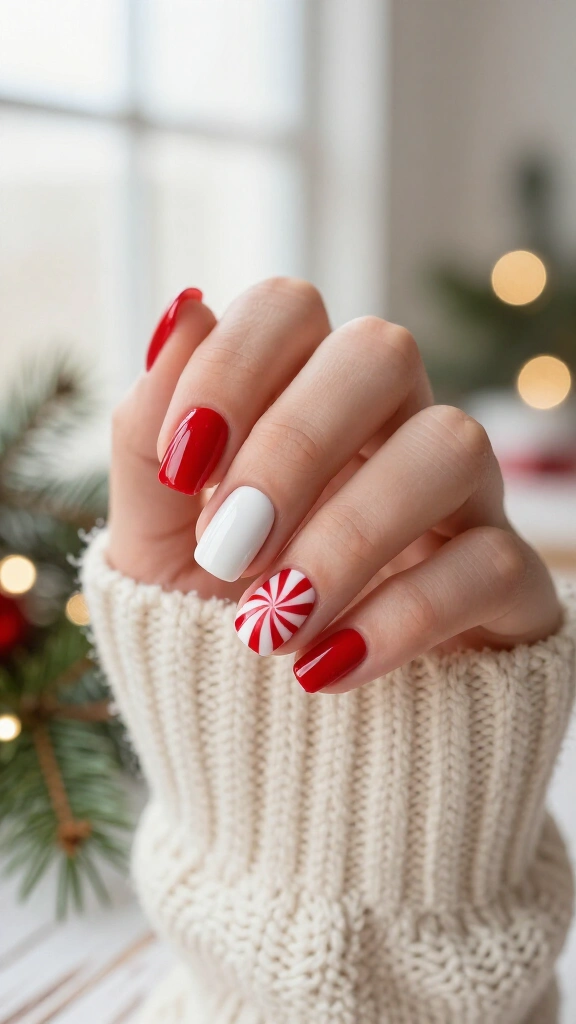
Holiday candy designs always stand out. Paint nine nails with bright candy-apple red polish and paint your middle nail in pure white. Place a generous drop of red polish onto the center of the wet white base, then drag a toothpick through the wet drop in a continuous spiral motion.
The red and white polish swirl together into a clean peppermint pattern. Apply a clear top coat once the spiral settles to smooth out the surface and lock in shine.
14. Starry Midnight Navy Sky
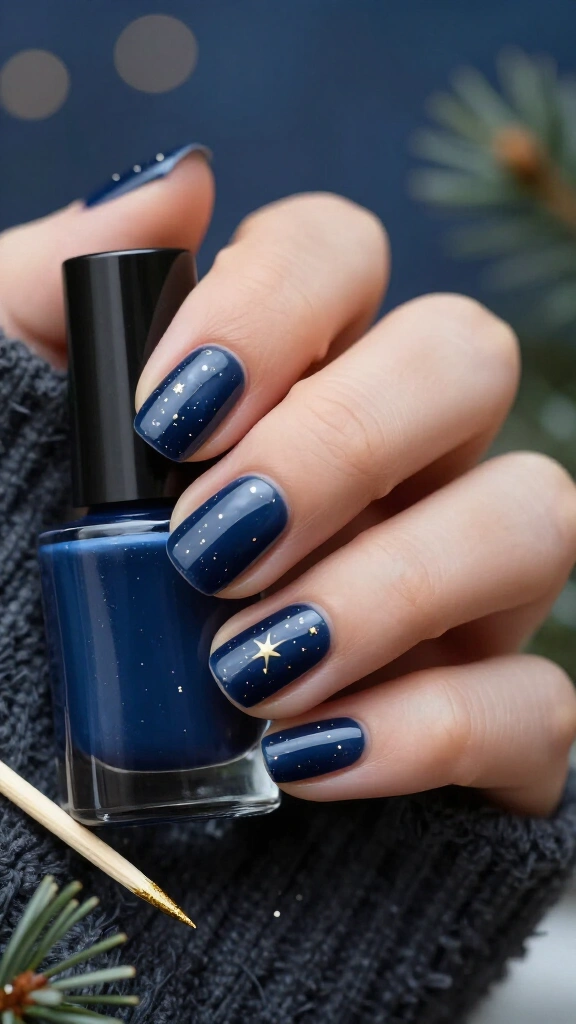
If you prefer deep winter shades over bright reds and greens, this dark blue set fits the bill. Apply two coats of midnight navy polish (think cold December night skies). Once the blue base sets, use the point of a toothpick to dot tiny specks of pale gold polish across each nail.
Pull the center gold dot outward into four clean points on your thumb nail to create a north star. This deep navy pattern brings a crisp look to short nails and transitions easily into your New Year plans.
Essential Tips to Make Short DIY Manicures Last
- Dehydrate the nail plate: Wipe bare nails with isopropyl alcohol before painting to remove oils that break down polish bonds.
- Cap the free edge: Sweep your brush horizontally along the raw front edge of every short nail to seal the color against tip wear.
- Nourish your cuticles: Clean cuticles give any basic home manicure a professional finish. Massage cuticle oil into your nail beds daily, using practical routines from Good Housekeeping’s wellness experts to prevent winter peeling.
You do not need long salon appointments, expensive tools, or long extensions to wear great holiday designs. Pick two colors, grab a toothpick, and test out one of these quick sets tonight.