You want festive nails without turning your fingers into flashing holiday billboards. Between gift wrapping and cookie baking, nobody wants to spend three hours painting microscopic reindeer.
Understated holiday manicures solve that problem. If you appreciate clean, simple beauty, clean Christmas nails give you plenty of cheer without shouting across the dinner table. You also do not need salon training or fancy kits to pull them off.
Grab a dependable base coat, a cheap dotting tool (or a standard bobby pin), and a warm mug of cider. Here are 16 subtle Christmas nail ideas you can finish in an afternoon.
1. Micro gold French tips
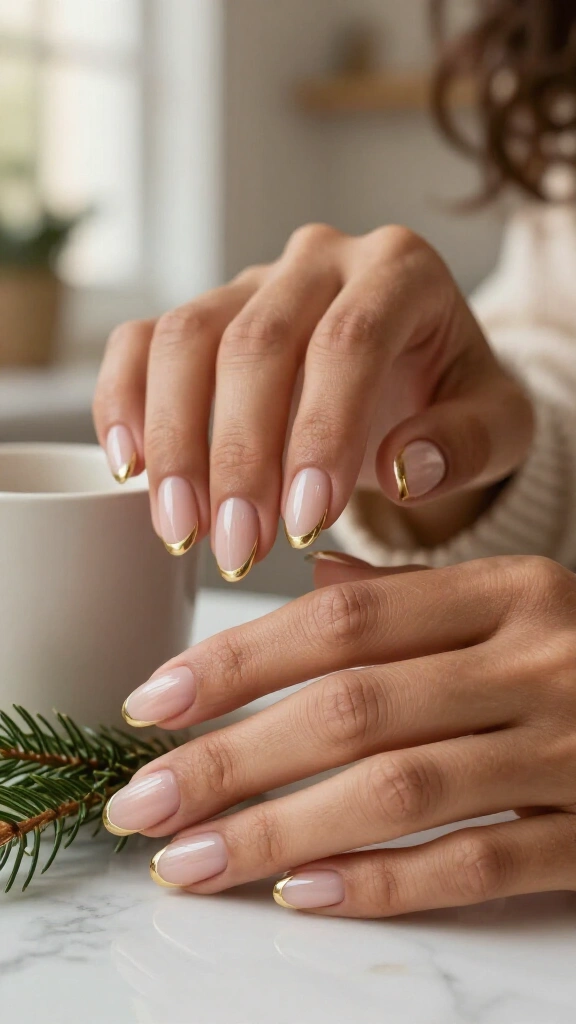
Skip the thick glitter coats. A razor-thin metallic edge gives your natural nails an elegant lift without excess sparkle.
Start with a clean, milky base coat like Essie’s “Mademoiselle”. Next, drag a fine striping brush dipped in chrome gold polish across the absolute edge of your tips. The beauty editors at Byrdie note that an ultra-thin line creates an illusion of longer fingers.
Seal everything with a clear top coat to stop chips while you prep your holiday dinners.
2. Barely-there berry half-moons
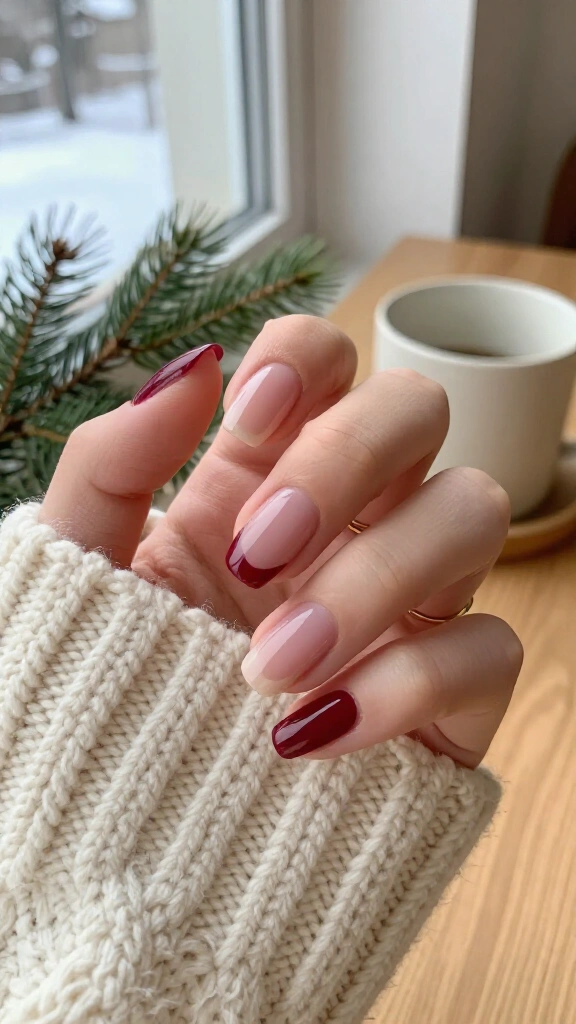
Deep wine red fits the winter season, but painting every finger in dark polish can intimidate beginners. You can easily flip that concept.
Paint a sheer neutral pink across every nail. Place a small, curved reinforcement sticker from your desk drawer over your cuticle curve. Paint a rich cranberry shade on the upper section, pull the sticker away while the polish stays wet, and enjoy your crisp line. The finished look feels neat, seasonal, and easy to finish.
3. Single snowflake accent stud
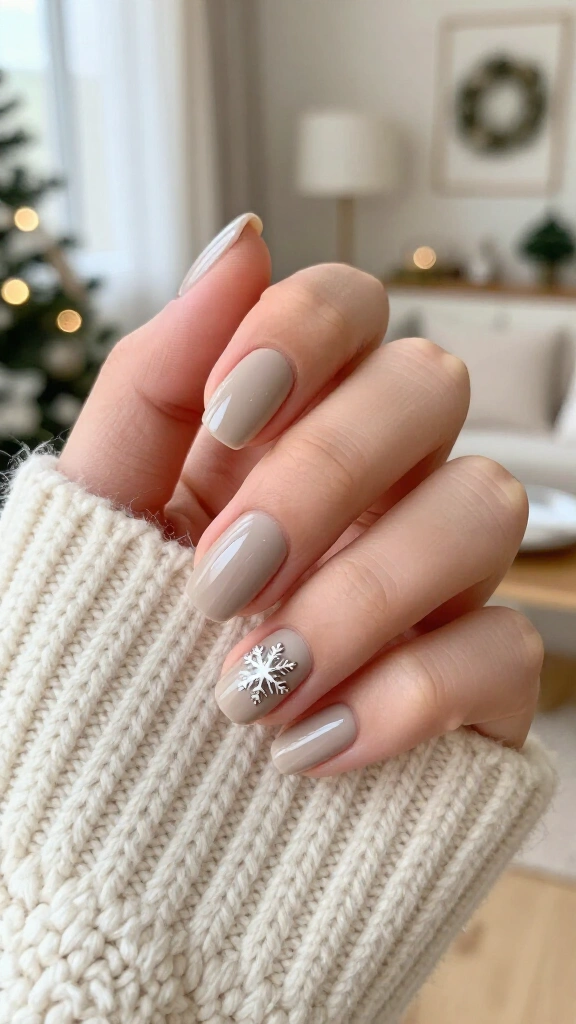
Hand-painting snowflakes requires steady hands that many beginners lack. You can skip the tedious detail work altogether.
Paint your nails with a soft beige or neutral taupe shade, much like the designs in our plain Christmas nails collection. While the accent nail’s clear top coat remains tacky, press a tiny silver snowflake decal or metallic stud directly onto the center using tweezers. Apply two layers of gel-finish top coat to keep the edges completely smooth.
4. Sheer glazed fir green
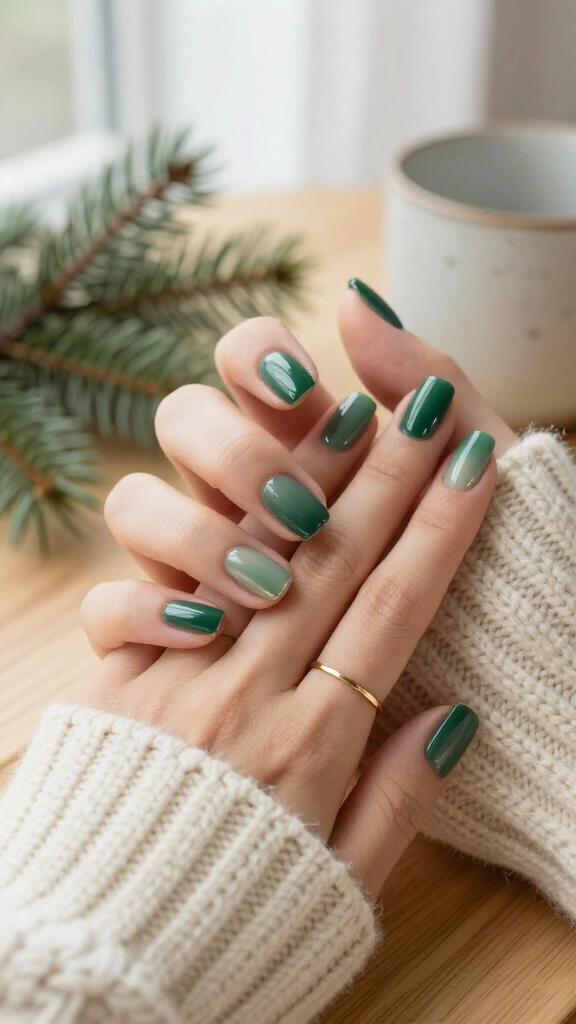
Holiday nails do not need to rely solely on red and white. Deep evergreen feels grounded, crisp, and seasonal.
To keep the shade sheer instead of heavy, mix two drops of forest green lacquer with four drops of clear base coat on foil. Brush this homemade tint over your nails for a light wash of color. Dust a tiny pinch of pearlescent chrome powder over the surface, and you get an iridescent forest wash with minimal effort.
5. Peppermint dot cuticle accents
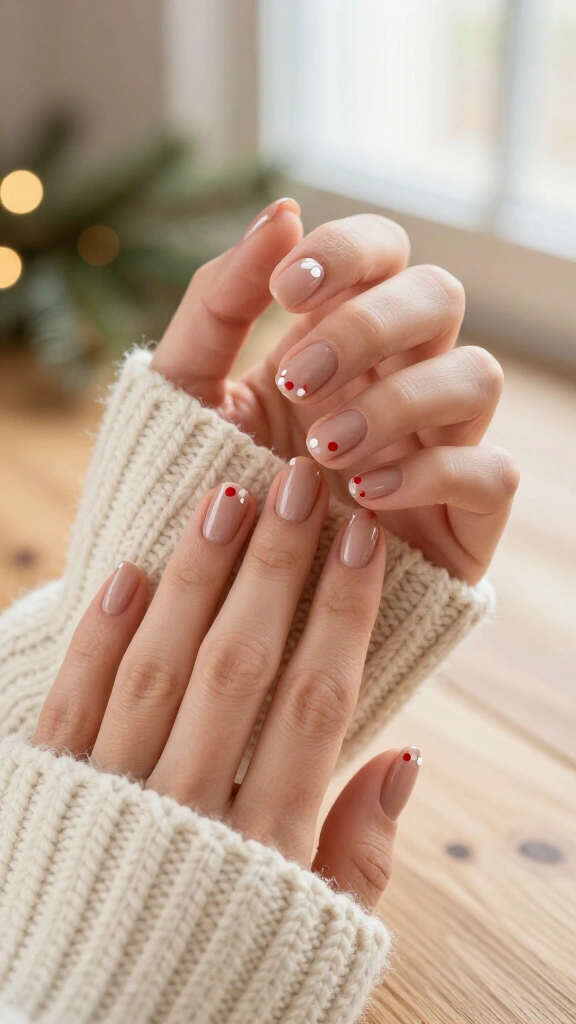
An ordinary wooden toothpick works as a surprisingly reliable nail art tool.
Apply a warm nude coat across your fingers. Dip the blunt tip of the toothpick into red polish and press a tiny dot right above your cuticle line on each nail. Place a smaller white dot next to it. This tiny detail gives you an immediate peppermint pattern without overpowering your hands.
6. Soft frosted champagne shimmer
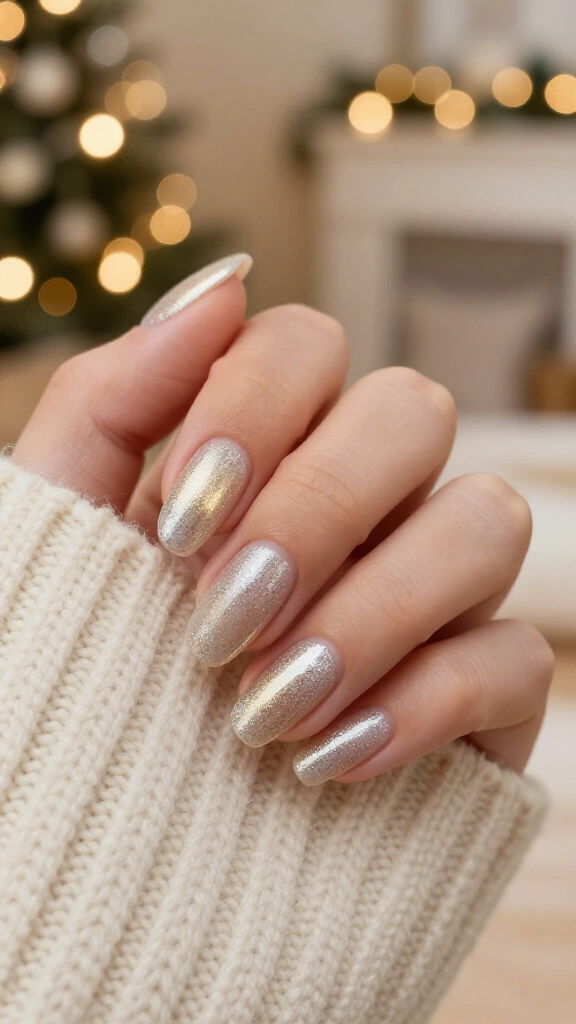
Sometimes simple textures deliver the best results. Frosted champagne tones catch the glow of indoor lights without looking loud.
Pick a metallic polish that blends gold and silver tones. Sweep one thin coat over buffed nails so your natural nail line still shows through. The finish stays light, translucent, and seasonal. The understated shimmer matches almost any party outfit you pull from your closet.
7. Emerald French accent stripe
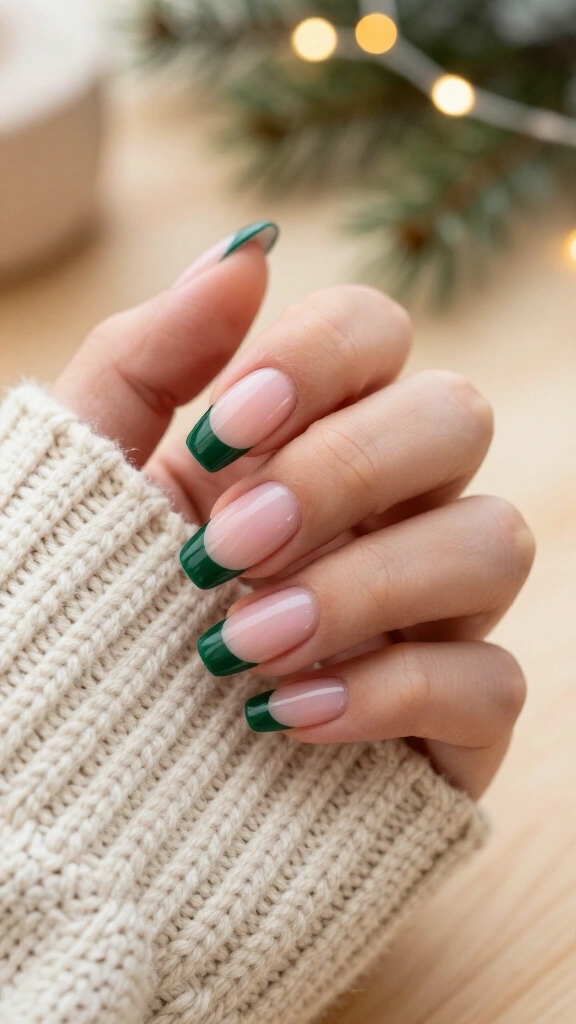
If you want a twist on classic French tips, swap out the white paint for a fine stripe of dark emerald green.
Sweep a flattering sheer pink over your nail base. Use striping tape (or regular office tape that you press against your hand first to soften the glue) to block out a diagonal line across the tip. Paint the corner with emerald polish, lift the tape immediately, and reveal the crisp angle. The result looks clean, neat, and cheerful.
8. Milky white with gold dust cuticles
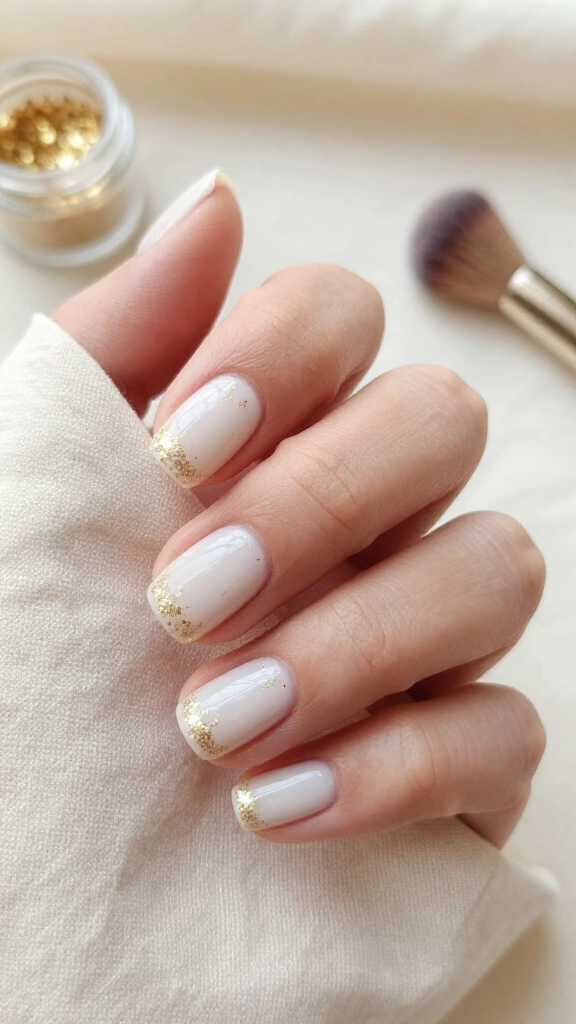
Milky white nails stay popular year after year, with regular appearances across style roundups on Allure. They offer a clean look that works across every skin tone.
Paint two thin coats of semi-sheer white polish. Before adding your top layer, dip a fluffy eyeshadow brush into loose gold craft glitter. Tap the brush handle lightly above your nail base so tiny specks settle along the cuticles. Dust away stray particles, add a clear top coat, and enjoy the subtle shine.
9. Tiny mistletoe negative space
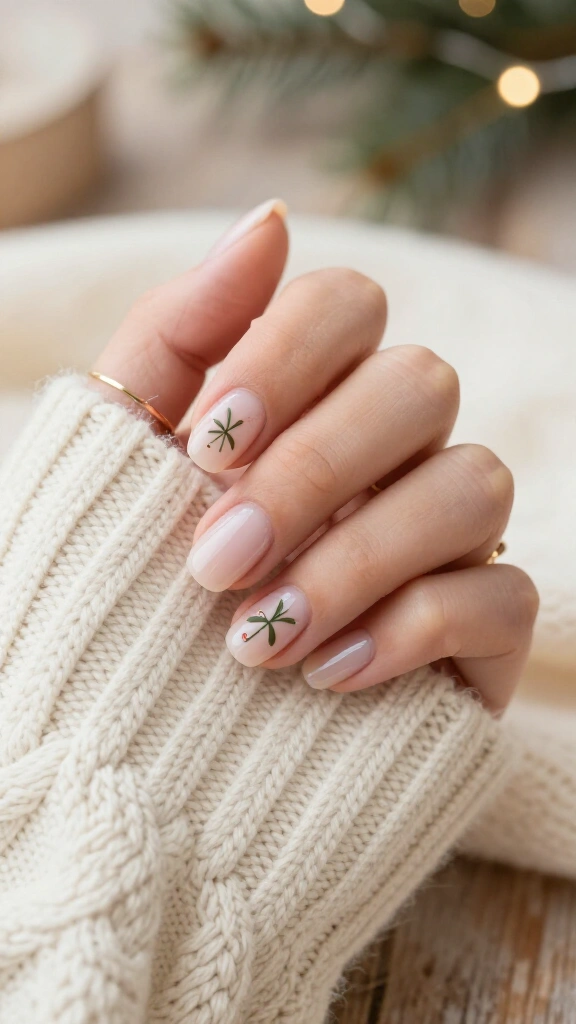
Negative space designs hide fresh nail growth, giving you extra days before you need a touch-up.
Keep your natural nail bare beneath a clear protective coat. On the upper corner of your ring finger, place two tiny olive green dots to create mistletoe leaves. Set a single red rhinestone or red dot right between them. You get a recognizable Christmas touch without excessive decoration.
10. The 60-second silver pinstripe
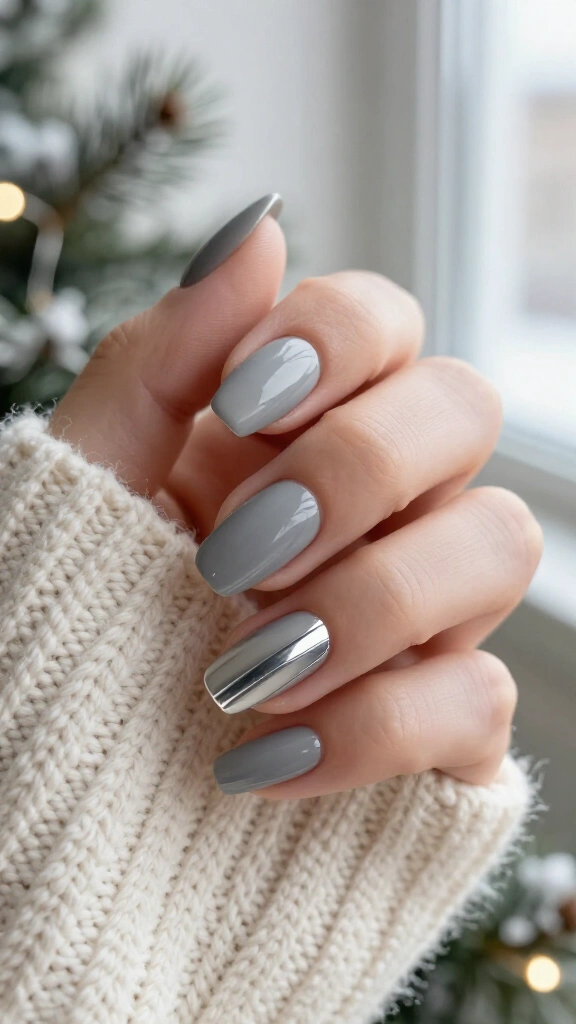
If drawing straight lines frustrates you, let striping tape do the precise work.
Apply a slate gray or blush polish and let it dry completely. Stick down one vertical strip of metallic silver tape along the side of your nail. Trim the end slightly short of your nail edge so water will not loosen it when you wash your hands. Seal it with a thick top coat for a quick graphic touch.
11. Rose gold starlight accents
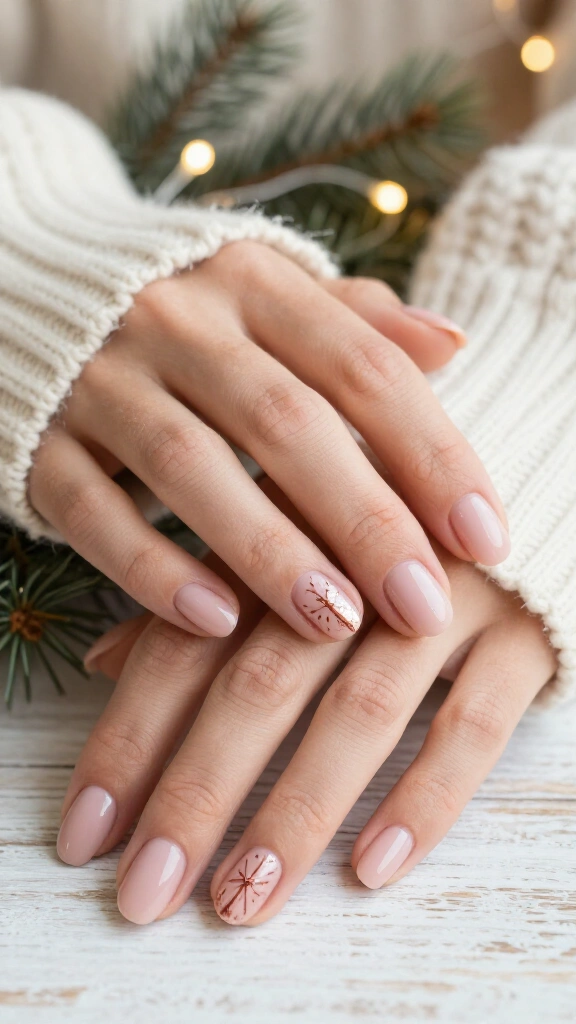
Rose gold pairs well with cold winter palettes, adding warmth without intense glare.
Pick a blush base that fits your skin tone. On your thumb and ring finger, paint a fine four-point star with a nail striper dipped in rose gold polish. Add a tiny dot right in the middle of the star to give it a neat glimmer. You create a quiet winter night aesthetic without complicated steps.
12. Gingerbread latte ombré

If you prefer warm earth tones to bright metallic glitter, cinnamon and caramel shades fit right into winter gatherings.
These colors echo the low-key look from our guide to neutral Christmas nails. Put a drop of beige and a drop of warm caramel next to each other on a small makeup sponge. Dab the sponge onto your tips several times to build a soft ombré transition. Clean the skin around your cuticles with an acetone brush for a tidy result.
13. Crisp pearlized velvet tips
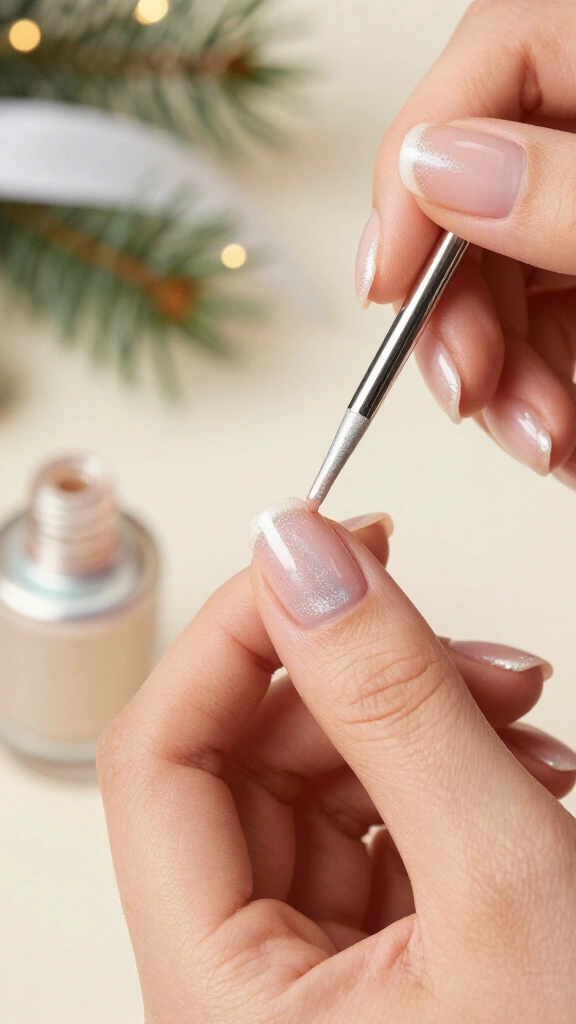
Velvet finishes stay popular on social feeds, and modern magnetic polishes make the process straightforward at home.
Apply a magnetic pearl polish over a sheer base. Hold the included magnet wand over the tip of your nail for ten seconds while the polish remains wet. The magnet draws the metallic particles toward the edge, creating a finish that resembles the hem of a shimmering velvet gown.
14. Subdued crimson negative space triangles
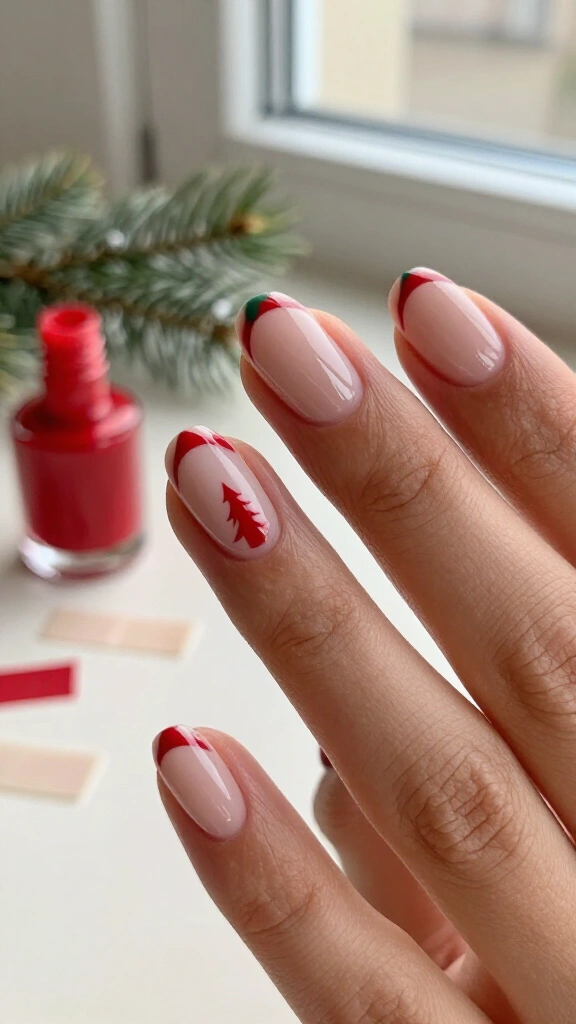
Clean geometric shapes look fresh, and standard tape guarantees straight lines every time.
Stick two strips of tape on your bare nail to outline a tall triangle pointing from your cuticle toward the tip. Fill the shape with bright red polish. Pull the tape up while the polish stays wet to reveal clean borders. The shape suggests an abstract evergreen tree while maintaining a crisp look.
15. The minimalist candy cane stripe
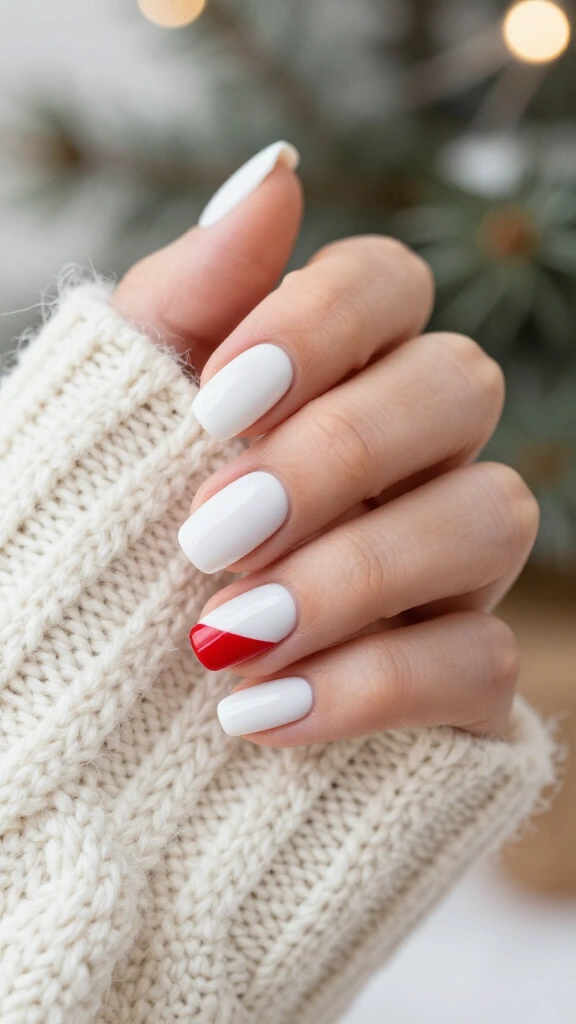
Layering multiple diagonal stripes often leads to smudged, uneven results. Simplify the whole process instead.
Paint your nails in clean winter white. On one accent finger, paint a single diagonal sweep of red from the top corner across the nail. One sharp line looks deliberate and neat, whereas multiple wobbly lines easily look cluttered. Keep your application simple and direct.
16. Sparkling champagne foil flakes
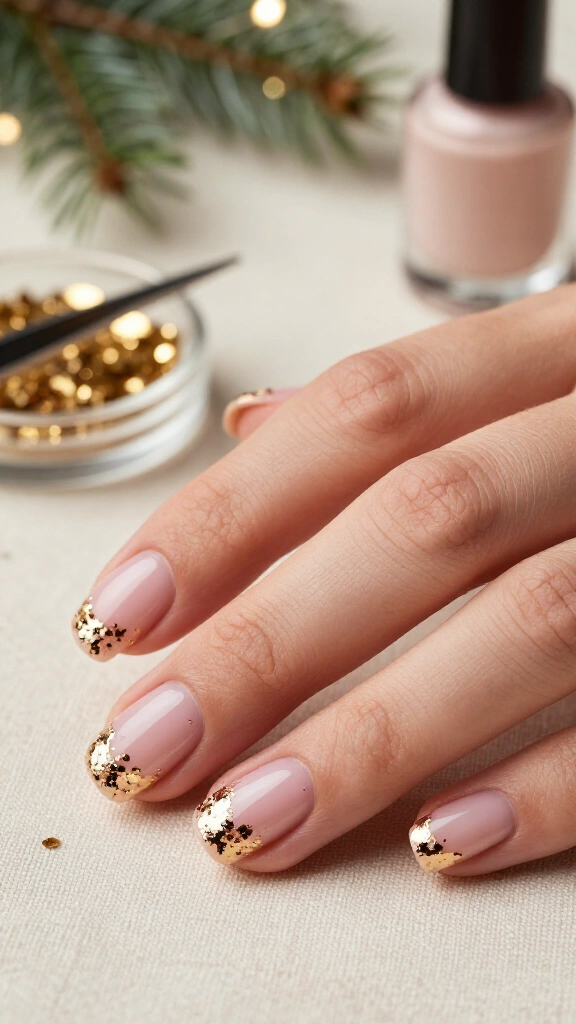
Nail foil flakes work wonderfully for beginners because irregular edges make the pattern look intentional.
Coat your nails in a pale pink or sheer neutral shade. While the polish feels tacky, pick up small shreds of gold or bronze foil leaf with tweezers. Press them across the edge of your nail bed. Smooth the foil flat with a finger and seal it with a top coat. The broken pattern delivers a luxe look without requiring freehand drawing skills.
PRO TIP FOR BEGINNER NAIL ARTISTS
Clean up your cuticle edges before you brush on your top coat. Dip a small, angled brush into pure acetone and trace around your skin. That crisp border turns an ordinary five-minute home manicure into a neat, salon-grade finish.
Wrap up your holiday look with ease
Festive nail care never requires hours in a salon chair, costly acrylic products, or steady drafting hands. Negative space, simple accent dots, and basic shortcuts like tape or foil keep your nails cheerful while saving your free time.
Which simple Christmas design will you try first this season? Grab your favorite shade, prep your nails, and wear your custom manicure with pride.