Holiday salon appointments fill up faster than retail shelves on Black Friday. Besides, nobody wants to drop eighty bucks on holiday nails you remove after three weeks. You do not need a steady hand or professional training to paint great designs at home. Grab a toothpick, some scotch tape, and your favorite holiday polishes: these simple looks work for every holiday party on your calendar.
1. The Minimalist Gold Stripe Accent
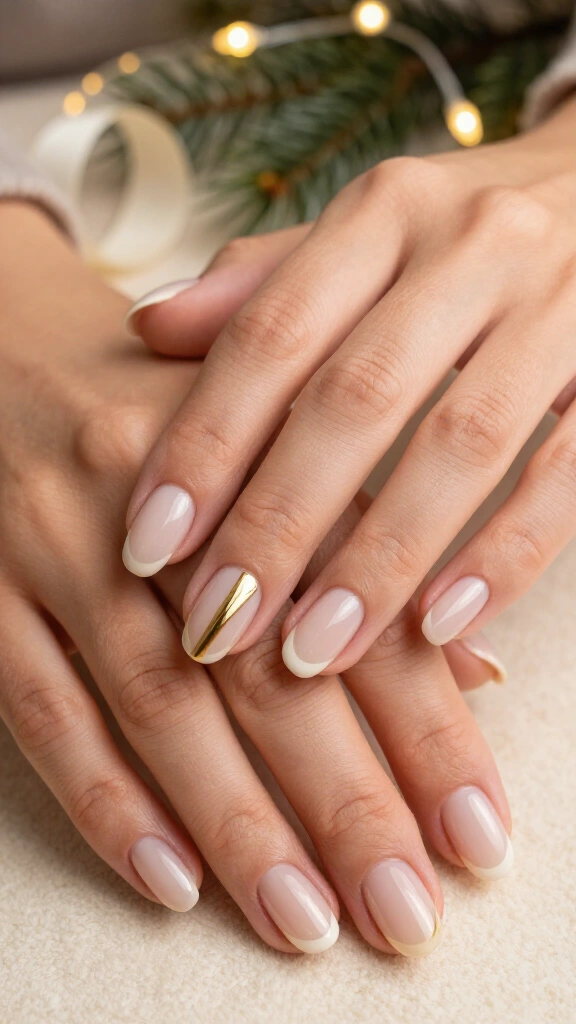
You can achieve a clean salon look without artistic skills by using metallic striping tape. Paint your nails with a sheer nude or milky white base. Once the base dries completely, lay a single strip of self-adhesive gold tape vertically down your ring finger and snip the excess with cuticle clippers.
Seal the nail with two thick coats of clear top coat so the edges never lift. Nail technicians at Byrdie note that sealing your edges keeps your manicure intact through long gift-wrapping sessions. The finished pattern complements chunky sweaters and holiday cocktail glasses.
2. Candy Cane French Tips
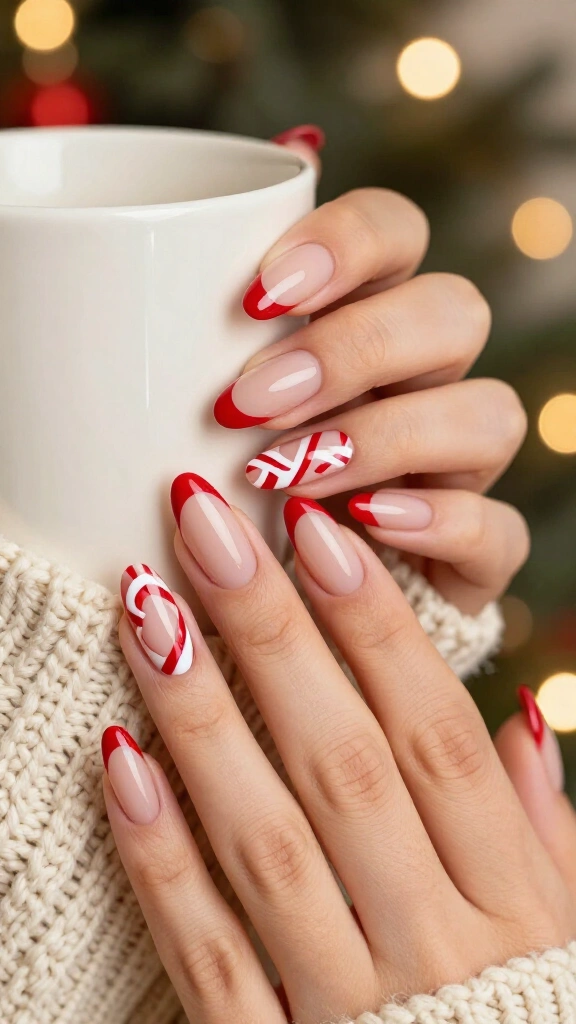
Skip the pain of hand-painting tiny stripes across all ten nails. Apply a bold cherry-red polish across the tips of your nails just like a standard French manicure. Stick-on guide stencils help you draw clean curves if you do not trust freehand lines.
Next, grab an ordinary white nail art pen or a toothpick dipped in plain white polish. Drag two diagonal slashes across each red tip. If you liked the warm tones in our guide on simple nail designs for short nails in fall colors, this look gives short nails a cheerful update for the winter season.
3. Tiny Dot Evergreen Trees
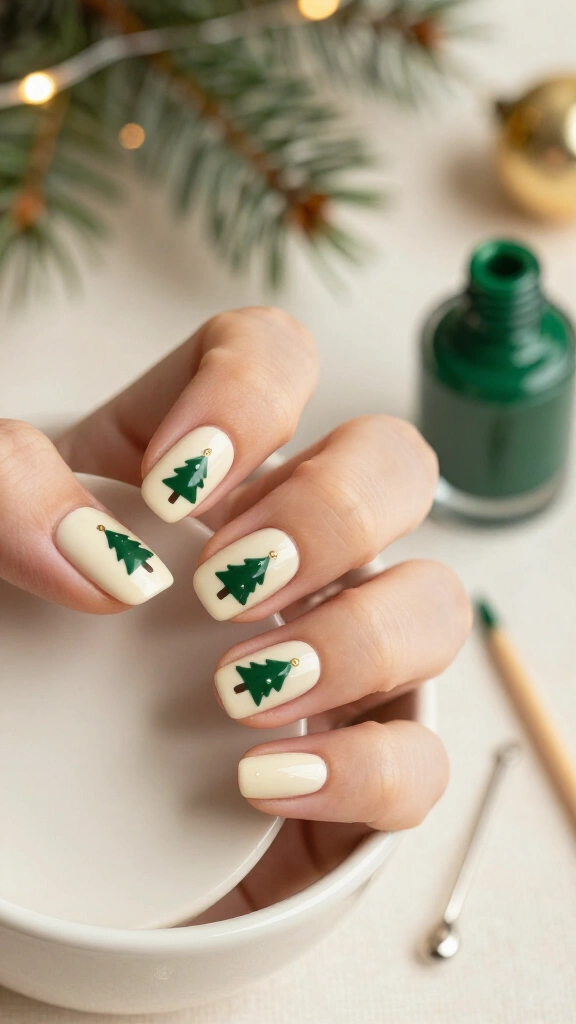
Geometric shapes keep holiday nail art simple and forgiving. Start with a bare, buffed nail or an opaque cream base. Dip the round tip of a bobby pin into dark hunter green polish.
Stamp three dots in a triangle: place one dot near the tip and two slightly wider dots underneath. Drag a toothpick lightly between them to connect the shape into a pine silhouette, then top the tree with a single dot of gold glitter. The method takes under five minutes and requires no painting experience.
4. Sparkling Champagne Accent Nail

If you have twenty minutes before leaving the house, this look gives you high impact for almost zero effort. Paint nine nails in a deep oxblood or winter plum shade.
Coat your accent nail (most people pick the ring finger) in two layers of champagne glitter polish. Pro tip: dab the glitter brush onto a makeup sponge before painting your nail. The sponge absorbs the clear base liquid and leaves concentrated sparkle on the nail plate.
5. Snowfall Dots on Bare Nails
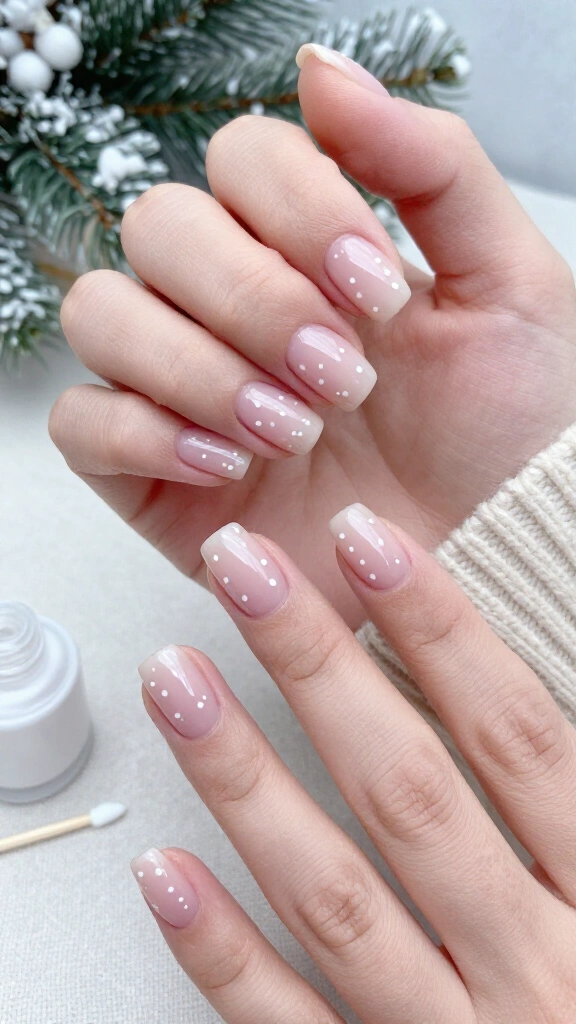
Bare-nail designs work well because daily chips stay invisible as your nails grow out. Paint your nails with a clear or soft sheer pink base coat. Once the coat sets, grab a toothpick and some white polish.
Press random dots across the top half of each nail to resemble falling snow. Vary your pressure to make some snowflakes larger than others. You get a crisp winter look without spending an hour under a UV lamp.
6. Plaid Tape Magic
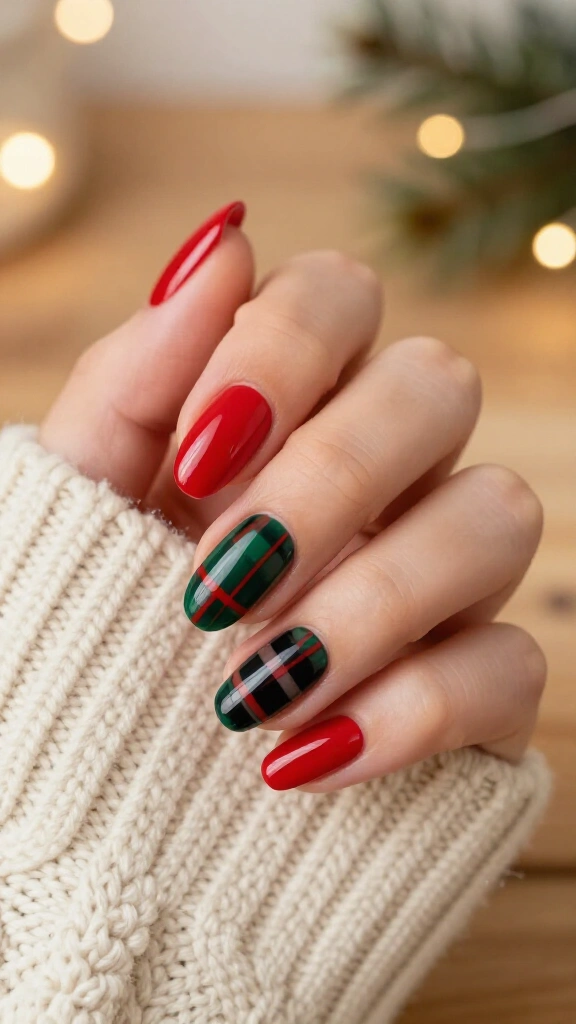
Hand-drawn tartan looks intimidating, but thin tape strips make the lines clean and straightforward. Paint your base in a classic red shade and let the polish dry completely.
Stick two thin strips of striping tape in a cross pattern across one accent nail. Brush a sheer black or deep forest green polish over the open sections, then peel the tape off while the polish stays wet. You get clean plaid lines with crisp edges every time.
7. Festive Red with Gold Foil Flakes
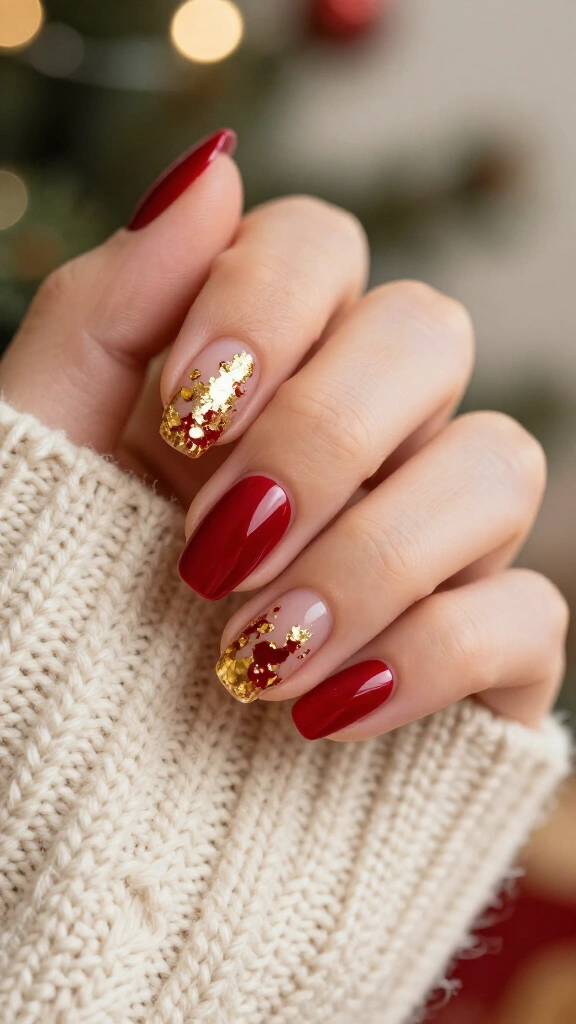
Gold foil gives standard red polish an elevated finish with minimal work. Paint your nails with a rich crimson polish. While the second coat remains slightly tacky, tear small flakes of craft gold leaf with tweezers.
Gently press the flakes near your cuticles or scatter them along the tips. Finish with a thick top coat to seal the gold foil flat against the nail surface. The result looks like custom salon work without the salon bill.
8. Mistletoe Dot Sprigs
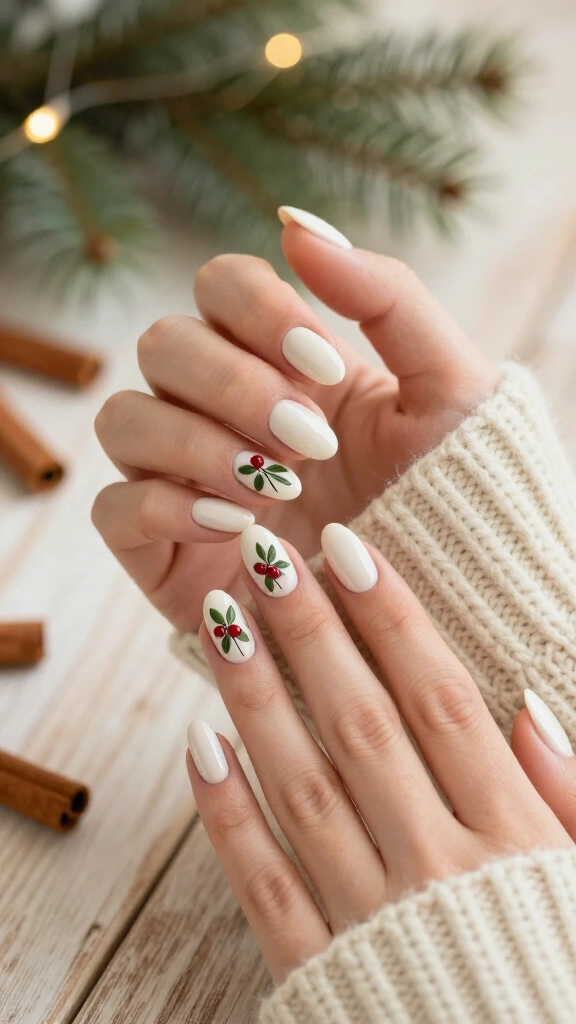
You only need two common household tools for this botanical design: a toothpick and a bobby pin. Paint your base in a soft off-white or eggshell polish.
Dip the toothpick into olive green polish and draw two curved teardrop leaf shapes that meet at the base. Then dip your bobby pin into bright red polish and press two small dots right where the leaves connect to form holly berries. The small detail looks neat and cheerful on any nail shape.
9. Frosty Micro-Glitter Ombré
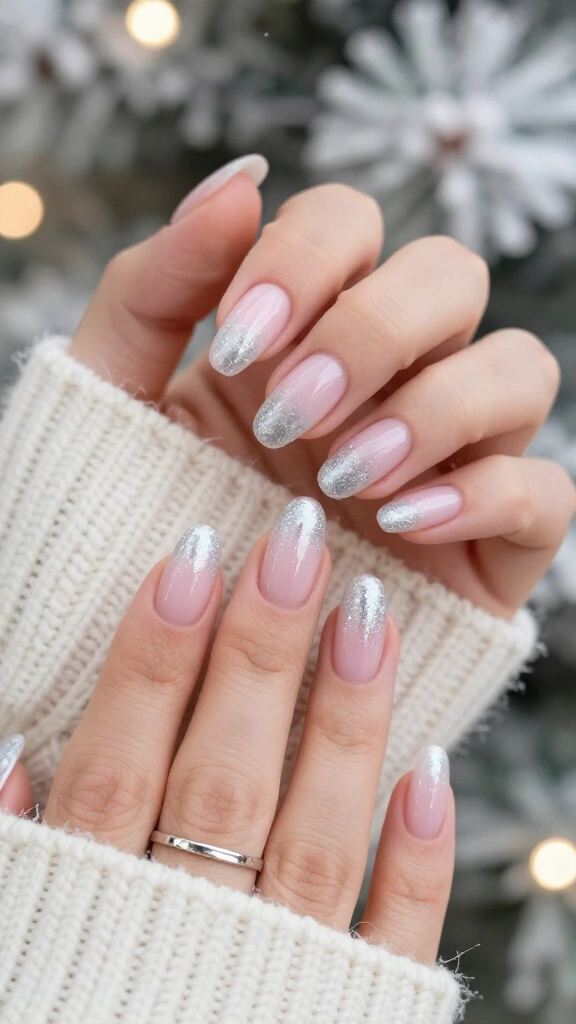
Glitter ombré hides smudges and uneven brush marks better than solid colors. Swipe a cool, sheer baby pink base coat across every nail.
Wipe most of the liquid off a fine silver glitter brush against the rim of the bottle. Lightly sweep the remaining sparkle from the tip down toward the middle of your nail. Dab a second layer directly along the top edge to build density at the tip and fade it into the pink base.
10. Monochrome Forest Green Velvet
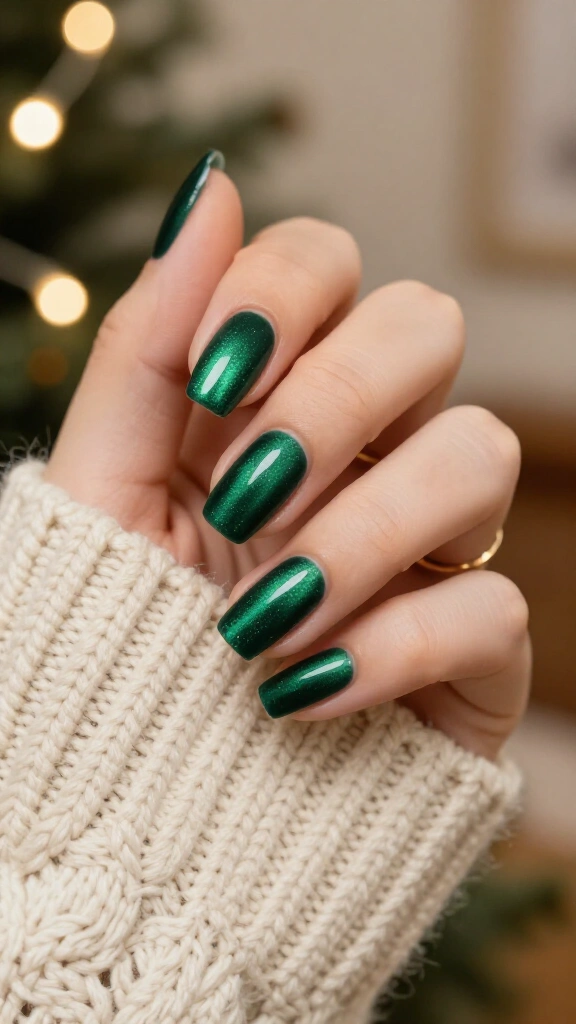
Clever texture often looks sharper than hand-drawn figures. Pick up an emerald magnetic lacquer and a small magnet wand. Writers at Allure praise cat-eye velvet nails because the metallic particles produce real depth without line work.
Brush a thick coat of the magnetic polish over your nails, hold the magnet wand diagonally across the wet paint for ten seconds, and let the shimmer settle into a velvet ribbon pattern. The effect catches the light like fresh pine needles on a decorated tree.
11. Rudolph’s Simple Red Nose
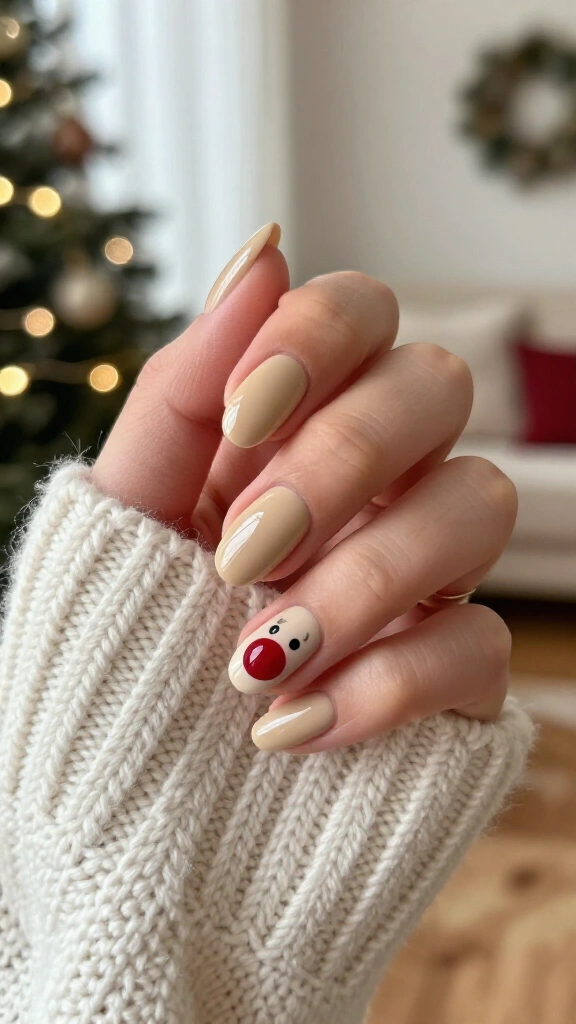
Holiday characters do not need complex details to look recognizable. Give your ring finger a simple nod to the season’s famous reindeer. Paint all your nails with a creamy caramel or beige polish.
Use the flat rubber end of an unsharpened pencil to press one wide red circle onto the lower third of your accent nail. Dip a toothpick into black polish and add two tiny dots right above the red circle for eyes. The design stays clean, cute, and takes only a minute per hand.
12. Cranberry Jelly Nails
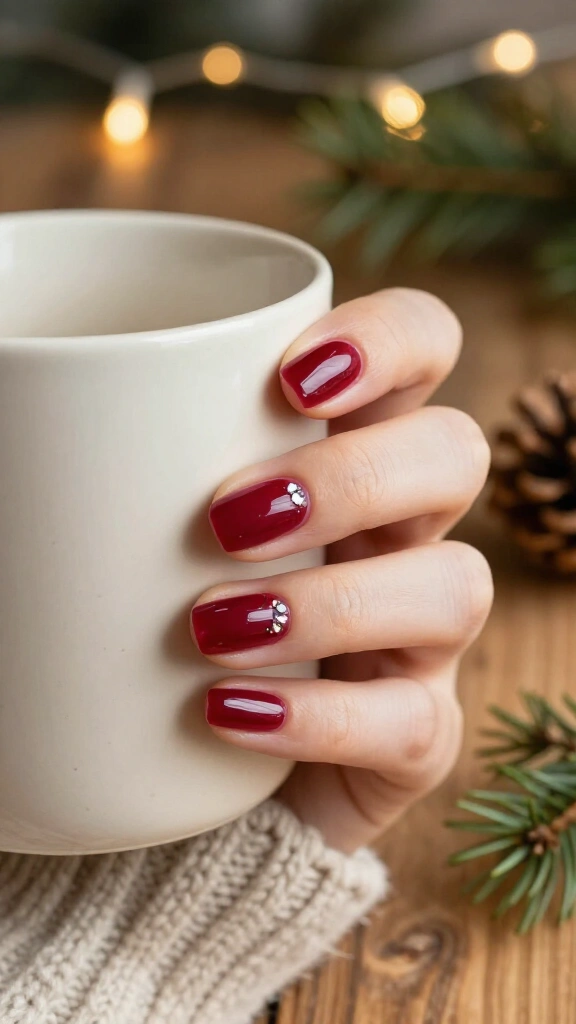
Translucent jelly nails flatter short, natural shapes especially well. When you move your manicure past earthy fall nail shades into winter, deep berry tones make a seamless substitute.
Mix two drops of deep wine polish with five drops of clear top coat on a piece of aluminum foil. Brush the sheer mixture across your nails to create a glossy, syrup-like cranberry tint. Press a tiny rhinestone onto the cuticle line if you want an extra touch of shine.
13. Starry Night Nail Stickers
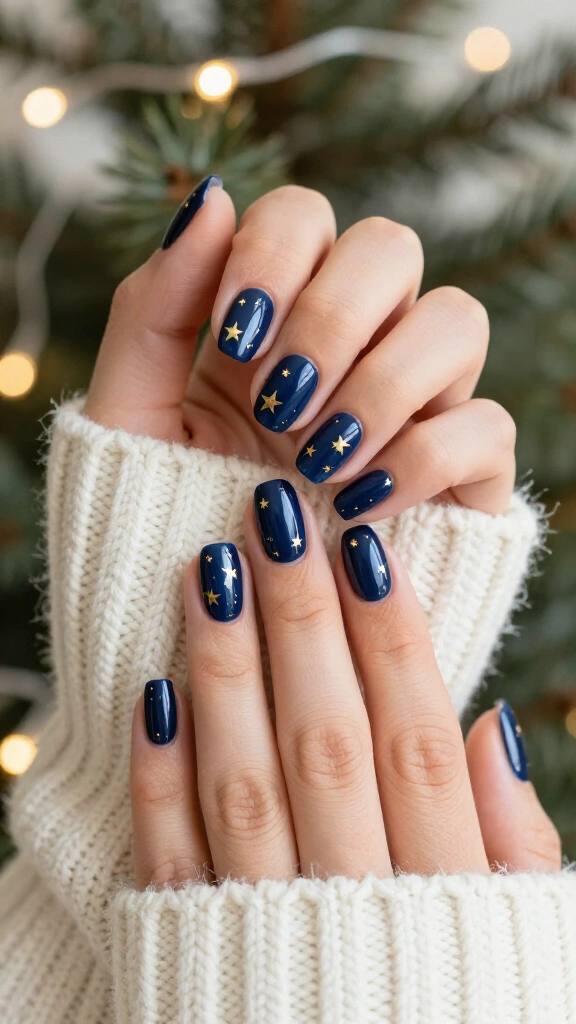
Professional nail artists use peel-and-stick decals constantly to save time. Buy a sheet of metallic gold star decals from a local store or online. Paint your nails an inky navy blue or dark charcoal gray.
Pick up each star decal with tweezers and smooth the sticker flat against your dried polish. Paint over everything with a glossy top coat so the edges never snag on winter gloves. The stars create a crisp winter night sky effect without any painting frustration.
14. Metallic Ribbon Cross
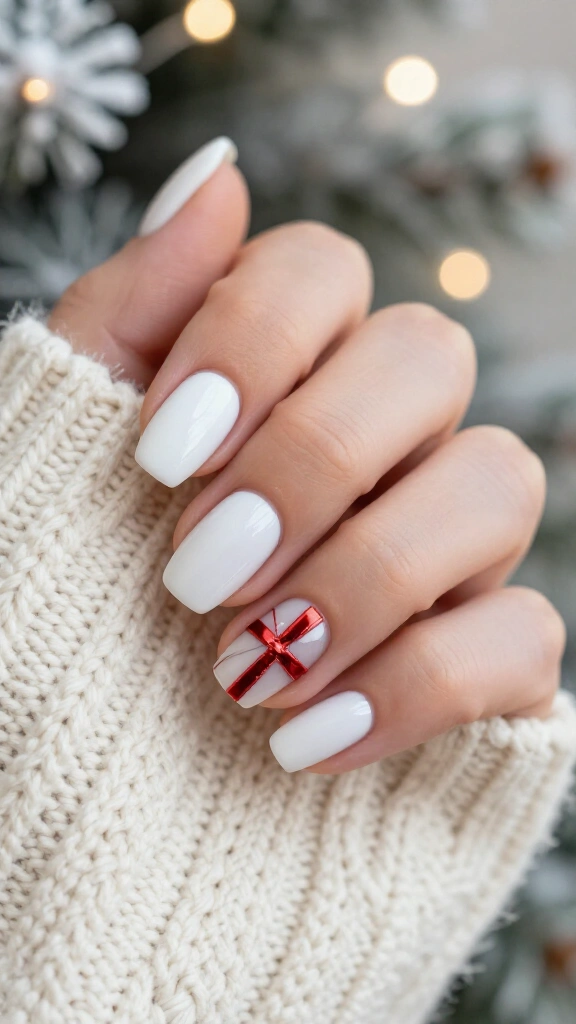
Turn your accent nail into a miniature wrapped gift box. Paint your nails in a clean winter white or metallic silver polish. Cut two narrow strips of chrome red tape with small scissors.
Lay one strip vertically down the center of your nail and cross the second strip horizontally across the upper third. Press both flat, trim the edges flush with your sidewalls, and seal them under clear top coat. You recreate the ribbon look of a wrapped package without needing a steady painting hand.
15. Gingerbread Latte Swirls

Abstract swirl patterns forgive shaky hands because no two waves need to match. Paint your base coat with a warm gingerbread brown polish and let it set.
Dip a thin liner brush or the edge of a coffee stirrer into off-white polish. Drag a single wavy line from the lower corner of the nail up toward the opposite tip. Irregular curves make the pattern look intentional, so you never have to fret over minor slips.
16. Silver Holographic Cuticle Cuffs
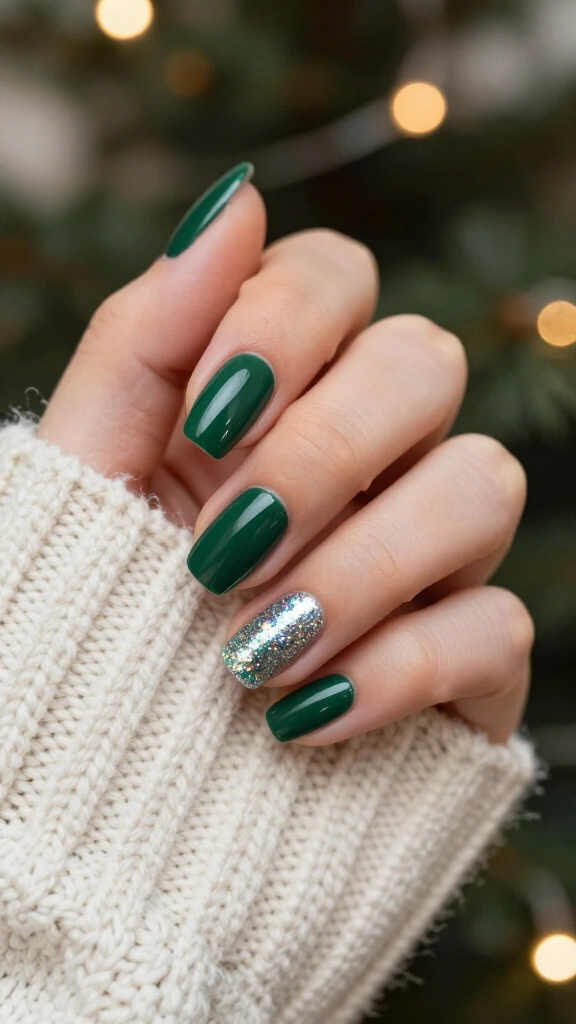
Simple accents along the base of the nail deliver a clean, sharp look. Paint your nails in dark evergreen, winter plum, or black polish. Instead of lining your tips, focus your glitter along the cuticle line.
Dip a toothpick into fine holographic silver polish and trace the lower curve of your nail bed. This reverse French outline draws the eye down the nail and frames dark winter colors with a neat band of sparkle.
17. Wrapped Gift Accent Nail

Focus on your ring finger or thumb while keeping the rest of your nails a solid, glossy burgundy. On that accent nail, apply a smooth metallic champagne base coat.
Draw a simple plus sign across the center using a dark green nail pen. Glue a small pearl stud or nail charm directly onto the intersection with a drop of nail glue. Writers at Harper’s Bazaar point out that single-nail details add personality without overpowering everyday winter outfits.
18. Frosted Berry Chrome
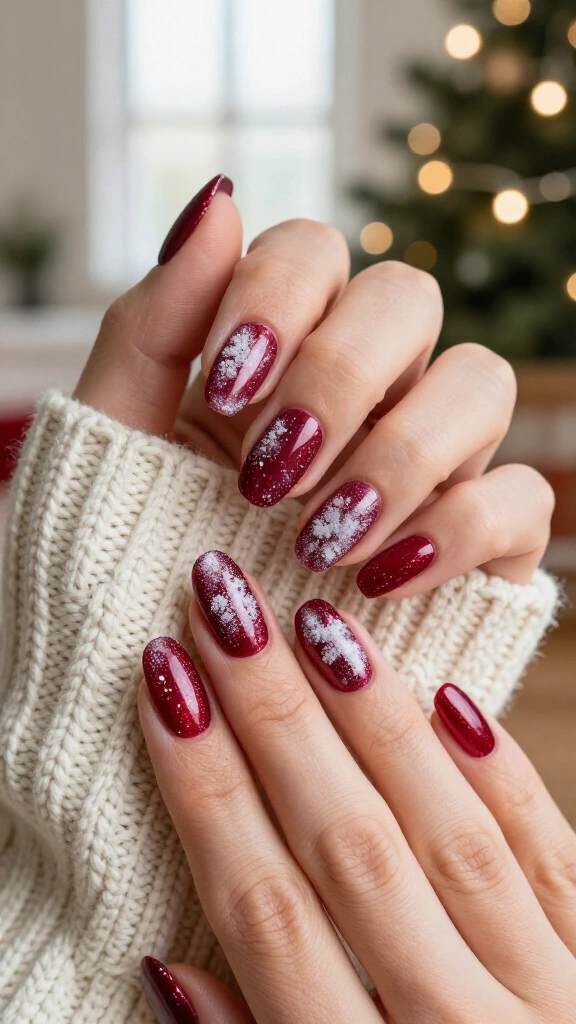
Chrome powder shifts the appearance of basic polish without requiring any linework. Paint your nails in a deep raspberry red, then apply a no-wipe top coat until it cures or reaches a tacky state.
Rub pearlescent white chrome powder across the surface using a small foam eyeshadow applicator. The chrome dust deposits an icy glaze over the berry base, matching the frosted look of winter fruit in cold weather.
Which Festive Look Will You Try First?
You do not need professional training or salon equipment to enjoy neat holiday nails. Basic household tools like toothpicks, striping tape, and bobby pins let you finish these designs at your kitchen table. Pick a design from this list, grab your favorite winter colors, and give yourself a fresh set for the season.