You do not need long acrylics or two hours in a salon chair for great autumn nails. Short nails give you a clean, practical base for understated designs. Simple accents usually look crisper on neat, trimmed nails than on long extensions.
If you have a packed schedule, spending an hour on complex nail art makes little sense. These 17 minimal nail art short nails fall design ideas take ten minutes, dry quickly, and use tools you already have in your bathroom drawer.
1. Single Espresso Micro-Dot
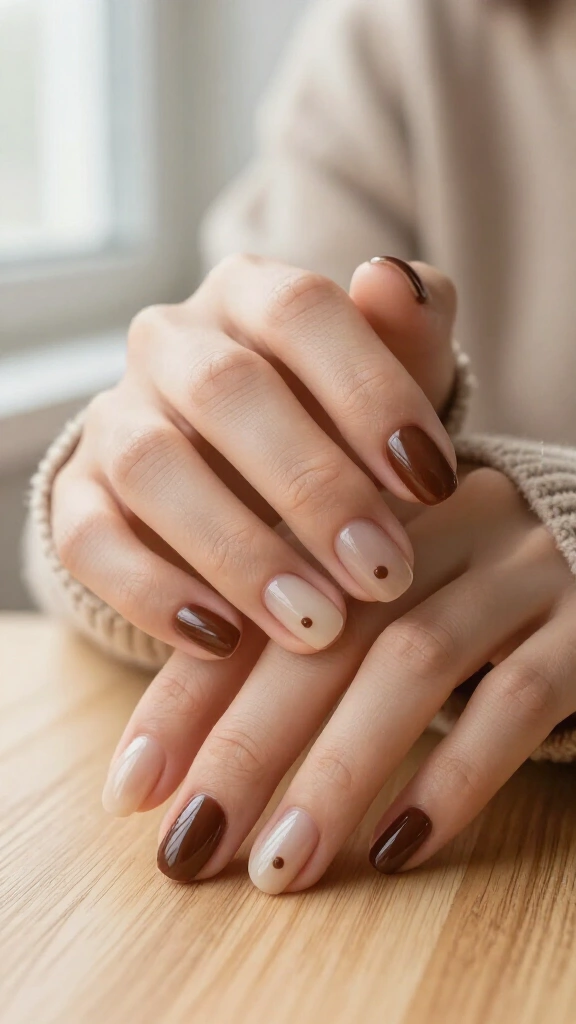
A single dot placed near the base of the nail looks clean and intentional. Apply a sheer, milky neutral base coat, let it set for two minutes, and grab a wooden toothpick. Dip the flat end into a dark espresso brown polish and press it gently onto the lower center of each nail.
You get a sharp geometric look without having to draw straight lines. Seal the dot with a glossy top coat so it does not snag. If you like low-effort manicures like this, check out our roundup of easy fall nail designs for more quick options.
2. Cinnamon Swirl Negative Space
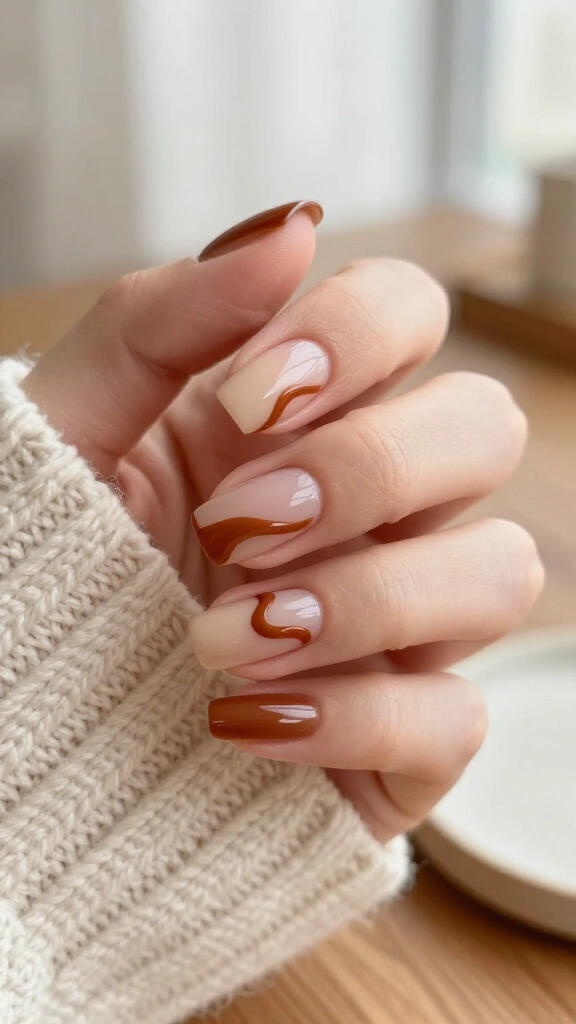
Negative space styles featured on Vogue work particularly well on short nails. Paint a clear or tinted base coat across the nail, then sweep a curved wave of warm cinnamon brown down one side.
Leaving most of the nail bare makes the nail plate look longer. Use a thin detail brush or tilt your regular polish brush sideways to lay down the curve in one pass. Clean up uneven edges with a flat concealer brush dipped in acetone.
3. Olive Green Half-Moon Cuticle
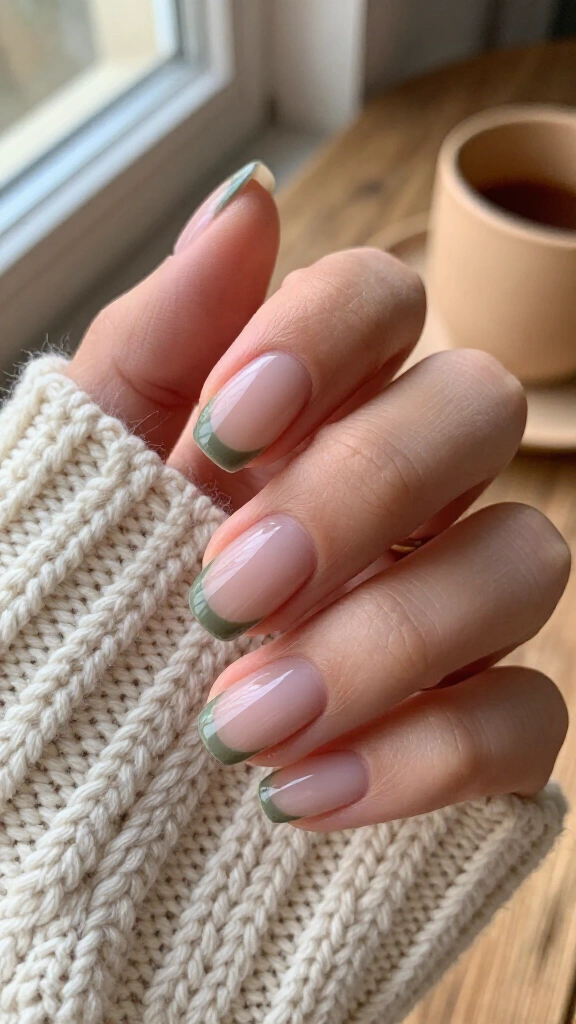
Reverse French tips frame the cuticle curve and flatter shorter nails. Pick an earthy olive or moss green shade. Paint a narrow arch along the bottom edge of your nail plate, leaving the rest of the surface bare or covered in sheer pink.
Placing the accent at the bottom keeps the free edge open, which makes the nail look longer. Pro tip: Standard paper hole reinforcement stickers make great stencils for clean curved lines.
4. Gilded Chrome French Edge
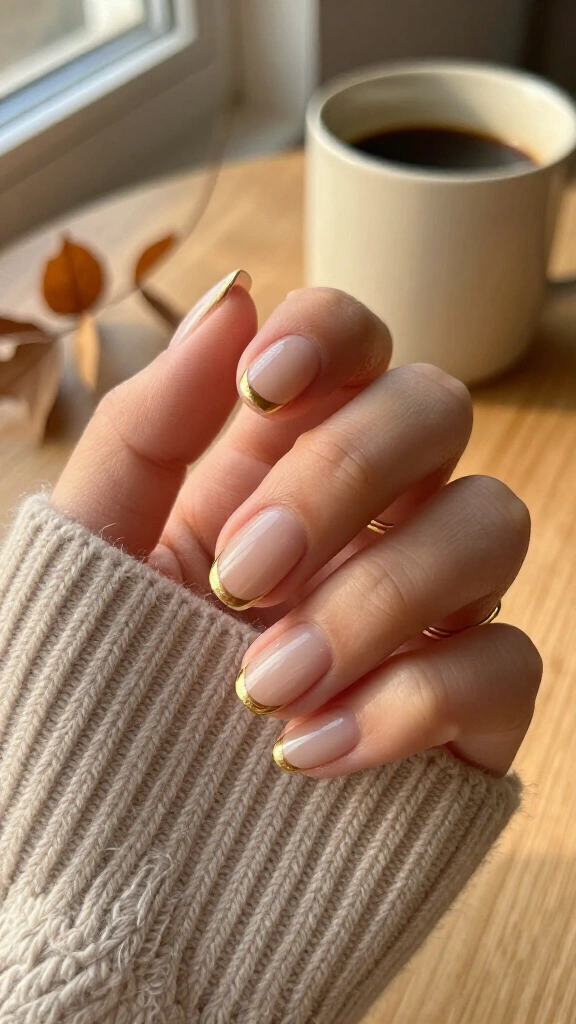
Micro-French tips give you a subtle metallic accent without complex prep. Paint an ultra-fine line of liquid gold or copper polish across the outer edge of your nail.
Keep the line under one millimeter wide. This thin stripe catches the light without crowding a small nail bed. Add a clear top coat to keep the foil edge from wearing off during the week.
5. Matte Mocha Vertical Stripe
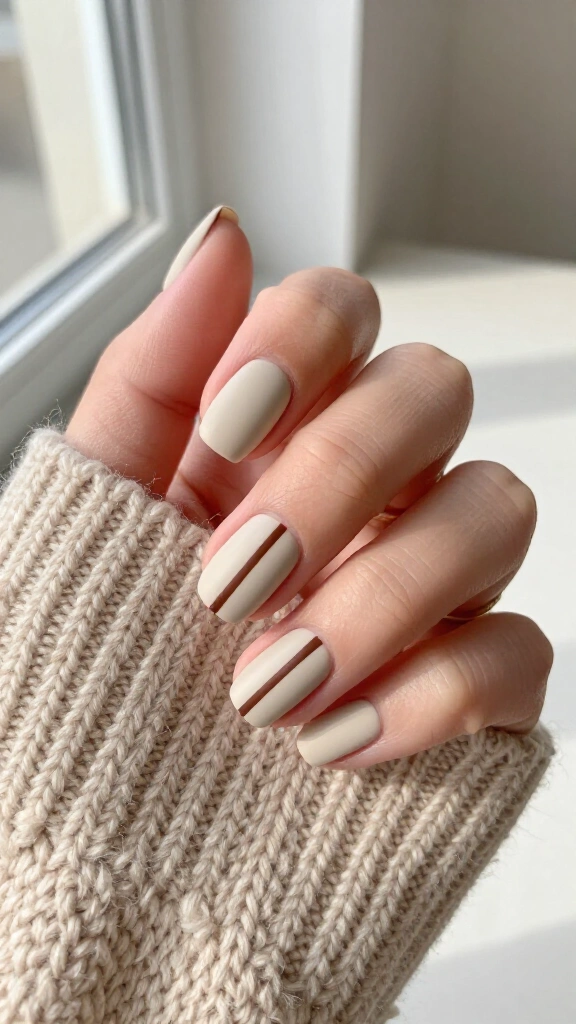
Vertical lines make short nail beds appear longer. Apply a neutral cream base, then paint a thin vertical line straight down the middle using deep mocha polish. Pull the brush in a single smooth stroke from cuticle to tip.
Once the stripe dries, finish with a matte top coat. The flat finish softens the brown tone and gives the surface a smooth, suede texture.
6. Spiced Chai Diagonal Block
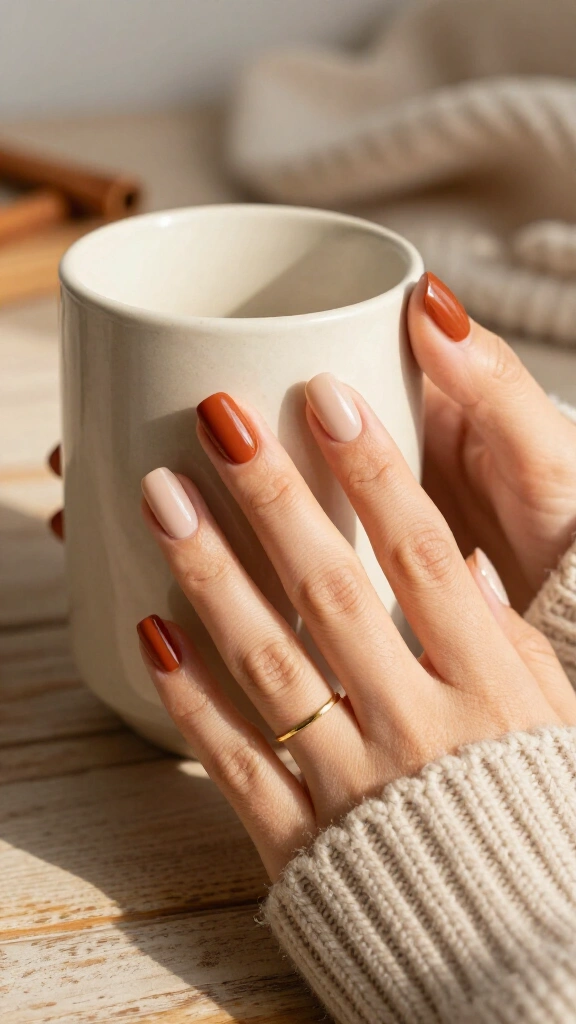
Scotch tape gives you clean geometric shapes without freehand painting. Place a piece of tape diagonally across one corner of each nail, then coat the exposed corner in warm terracotta polish. Pull the tape off while the polish is still wet to get a crisp edge.
This diagonal block looks sharp on squoval and round shapes alike. You can explore more angled concepts in our guide to fall nail inspo for short nails.
7. Burnt Orange Micro Heart
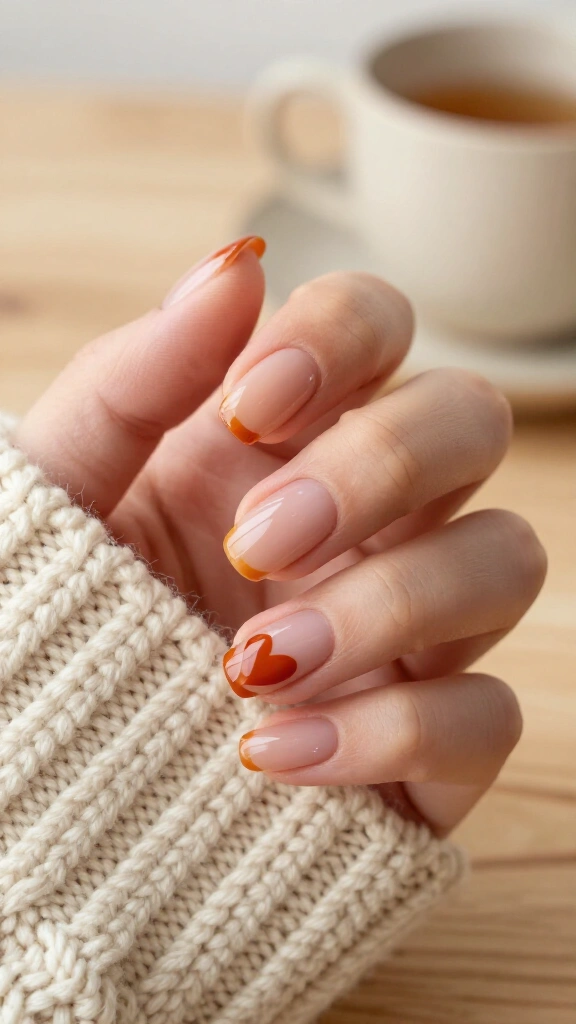
Miniature hearts look subtle when you paint them in warm autumn tones. Apply a nude base coat, then dip the round tip of a bobby pin into burnt orange polish. Place two small dots next to each other on your accent nail, then pull a toothpick down through the center of both dots to form the heart point.
Placing the heart on just one finger per hand keeps the look minimal. The entire step takes under a minute and requires no specialty dotting tools.
8. Burgundy French Outline
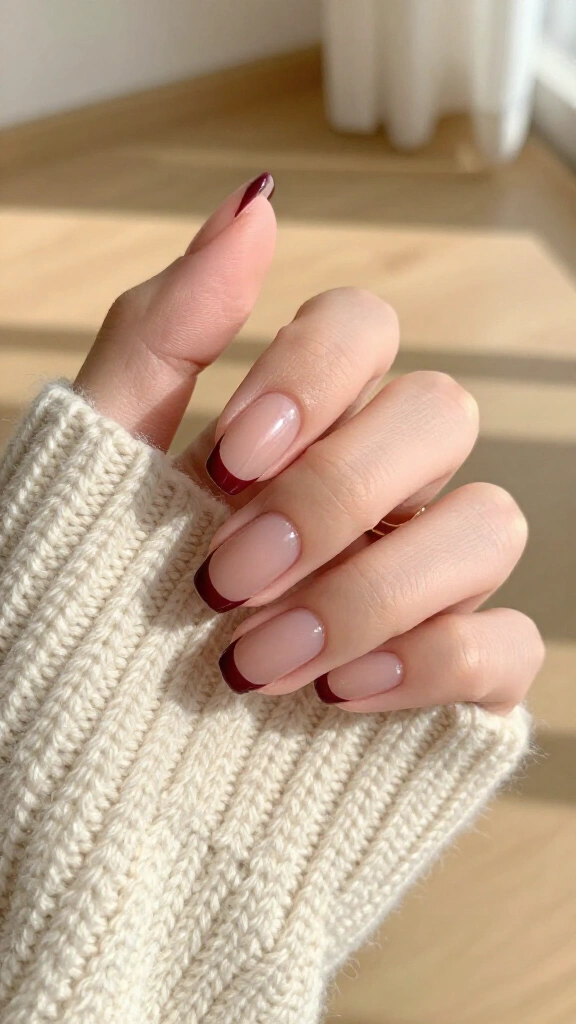
Instead of painting a solid tip, trace a fine curve just along the smile line using deep oxblood or merlot polish. This floating line technique leaves the top space open and gives you a light, graphic outline.
Manicurists on Byrdie recommend open outlines because dark solid tips can make short nails look stubby. Apply cuticle oil afterward to keep the skin around the dark line hydrated and neat.
9. Sheer Pumpkin Jelly Tint
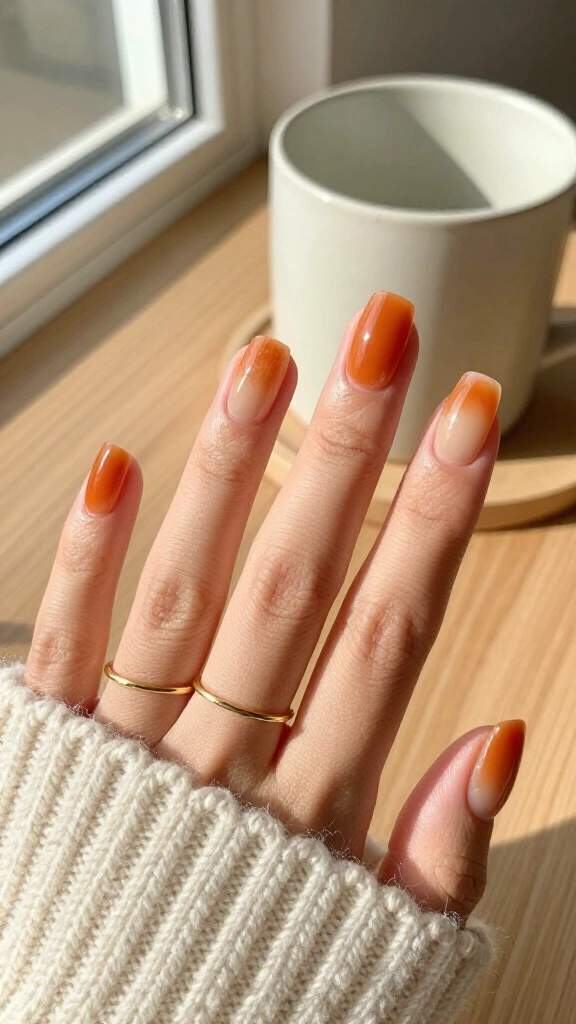
Jelly polishes create a translucent, glassy finish that makes natural nails look healthy and glossy. Mix three drops of pumpkin orange polish into half a bottle of clear top coat to make your own sheer tint.
Paint two thin coats over bare nails. The sheer orange tone adds warmth to your hands without requiring precise lines, dotting tools, or dry-time stress.
10. Metallic Gold Leaf Flakes
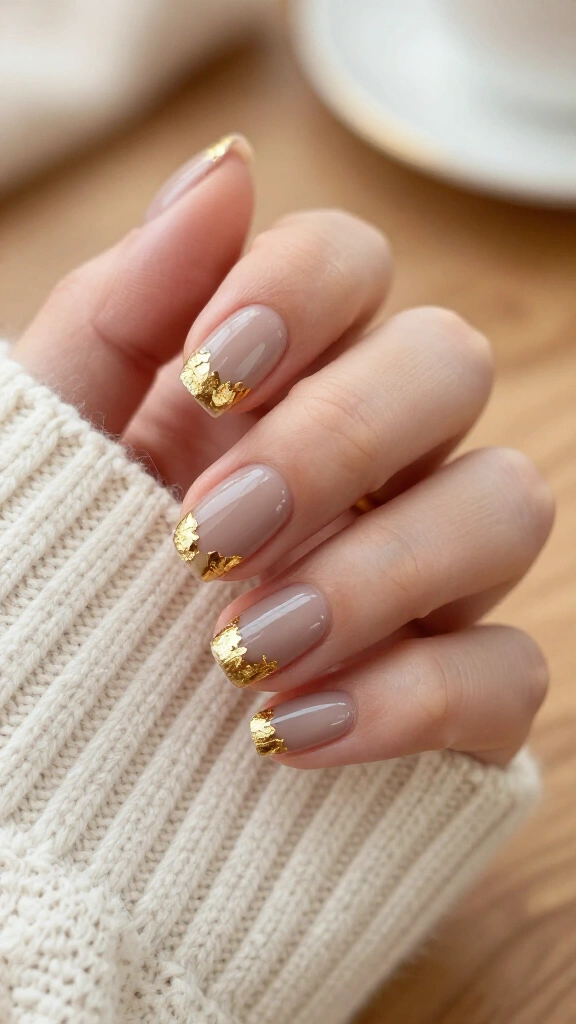
Foil flakes add texture to neutral nails without extra drying time. Apply a sheer taupe base coat, wait one minute until the polish feels slightly tacky, and press tiny pieces of gold foil onto the outer corners with tweezers.
The torn, uneven edges of the foil create an organic pattern naturally. Apply two coats of clear sealant over the foil to smooth out rough edges and lock the metal in place.
11. Forest Green Side-Stripe
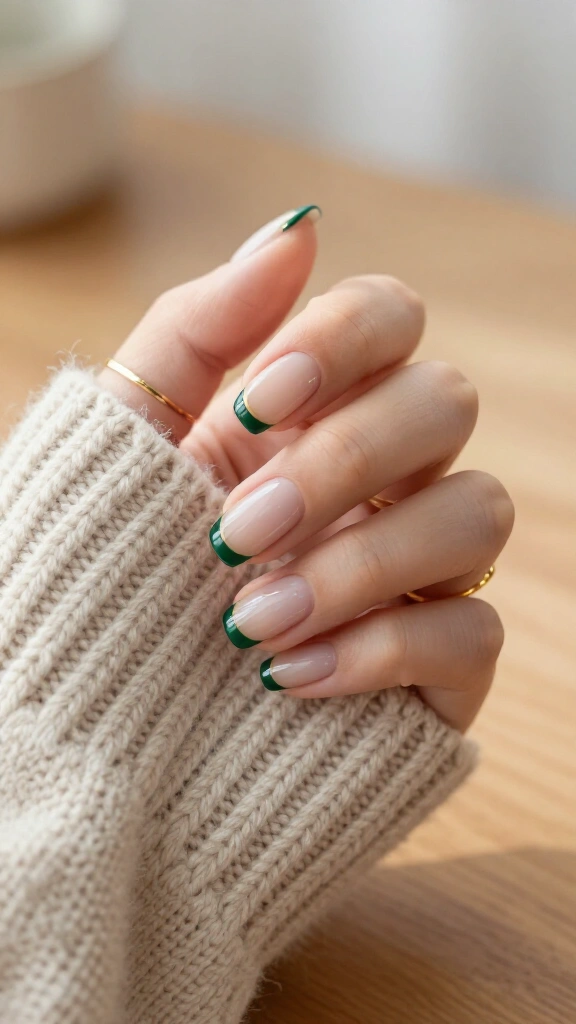
Moving your design to the side of the nail gives you a clean, modern profile. Dip a fine brush into hunter green polish and draw a single vertical line along the outer edge of each nail.
Placing the line along the outer wall slims wider nail beds. Pair this style with simple gold rings for an everyday look. You can find more seasonal options in our guide to trendy fall nails.
12. Neutral Matte Split Tone
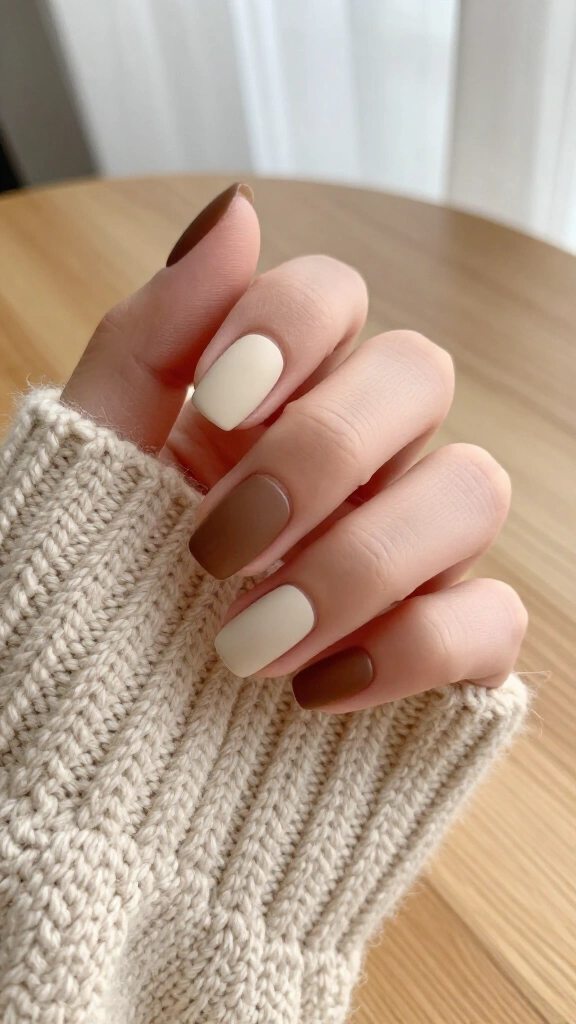
Divide each nail down the center with two coordinating neutral shades. Paint one side in oat beige and the other side in warm walnut brown, using the center of your nail as a reference line.
Do not worry if your center line looks slightly uneven. A coat of matte finish softens the boundary and blurs minor brush wobbles immediately.
13. Toasted Almond Starburst
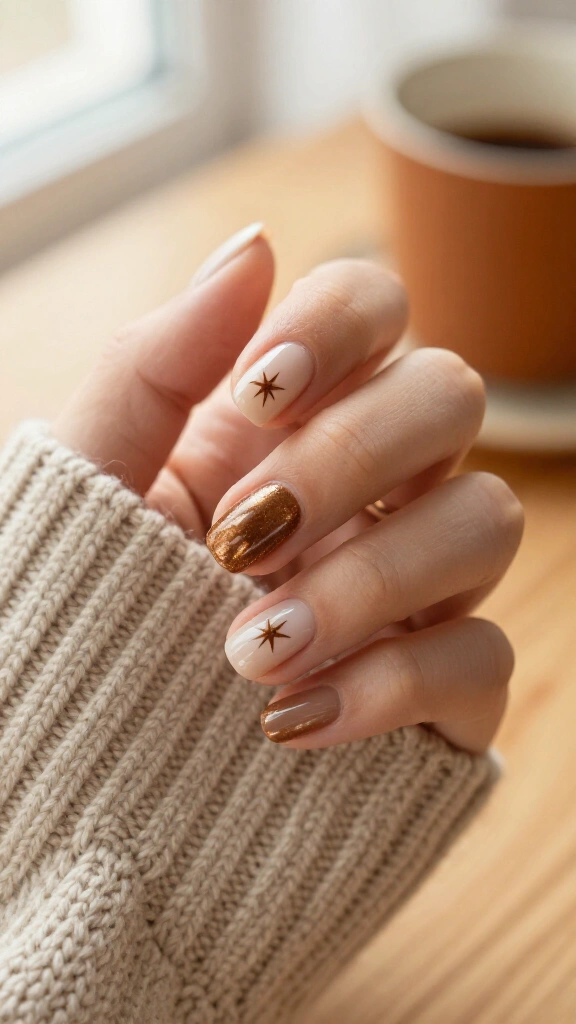
You can create a crisp starburst in seconds without detailed stencil work. Place a small dot of bronze polish in the center of your nail, then pull the wet lacquer out into four sharp points using the tip of a sewing pin.
The resulting four-point star adds a subtle metallic accent without crowding short nail beds. Paint this design on your ring and thumb nails while leaving the other fingers bare.
14. Moody Plum Floating Dot
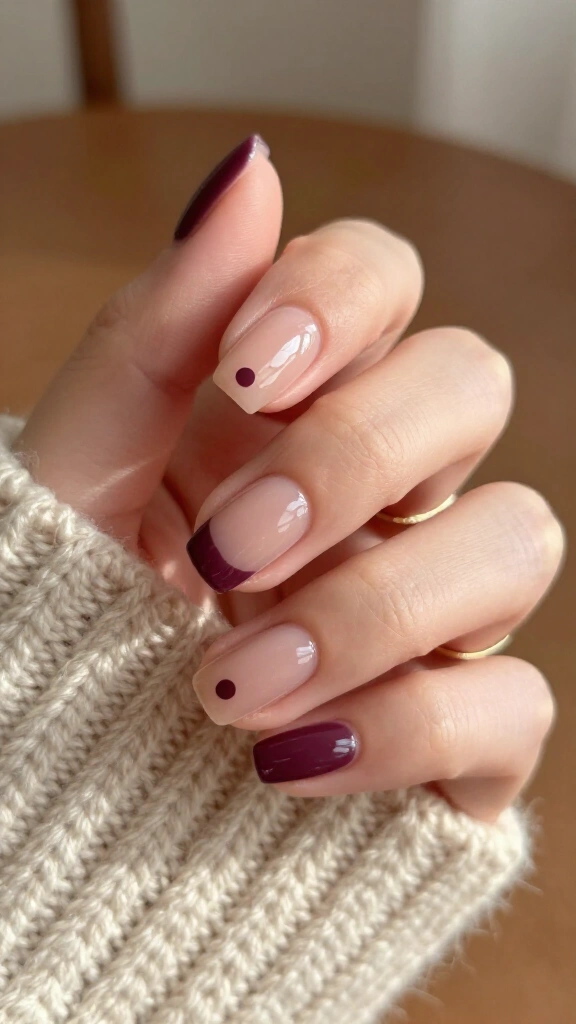
Deep berry and plum shades remain fall staples, as noted by Allure. Instead of painting the entire nail in a dark shade, place a single plum dot directly in the center of a sheer base.
The dark dot stands out sharply against the bare nail surface. The process takes less than five minutes for both hands and dries quickly.
15. Camel Brown Asymmetric Corner
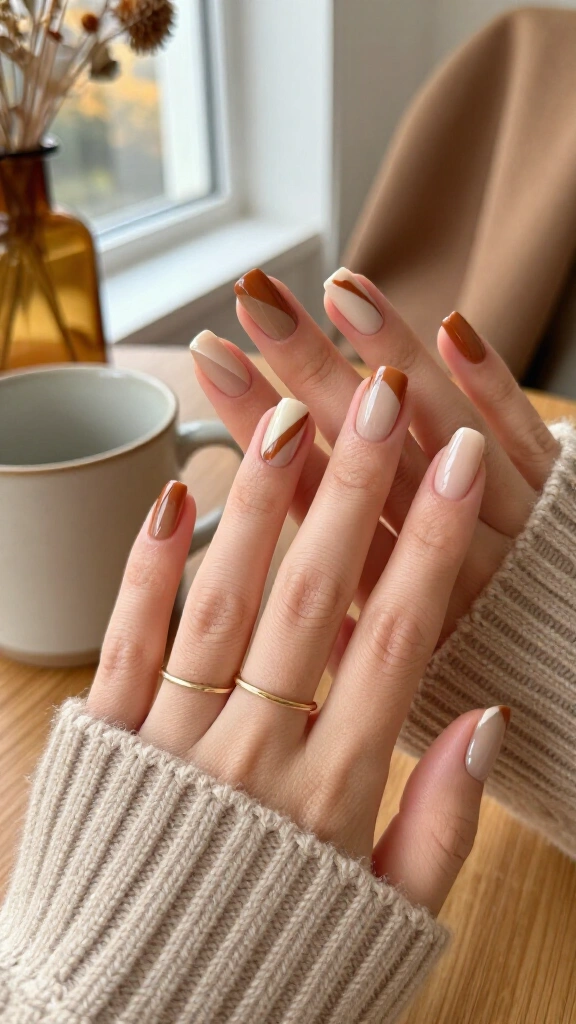
Color-blocking a single corner gives you a clean graphic accent with minimal brushwork. Paint a small diagonal swipe of camel or cognac polish across the upper corner of each nail, leaving the rest of the plate bare.
This asymmetrical block pairs well with fall staples like wool coats and boots. Because the color covers only one corner, routine tip wear stays less noticeable throughout the week.
16. Glazed Cider Chrome Dusting
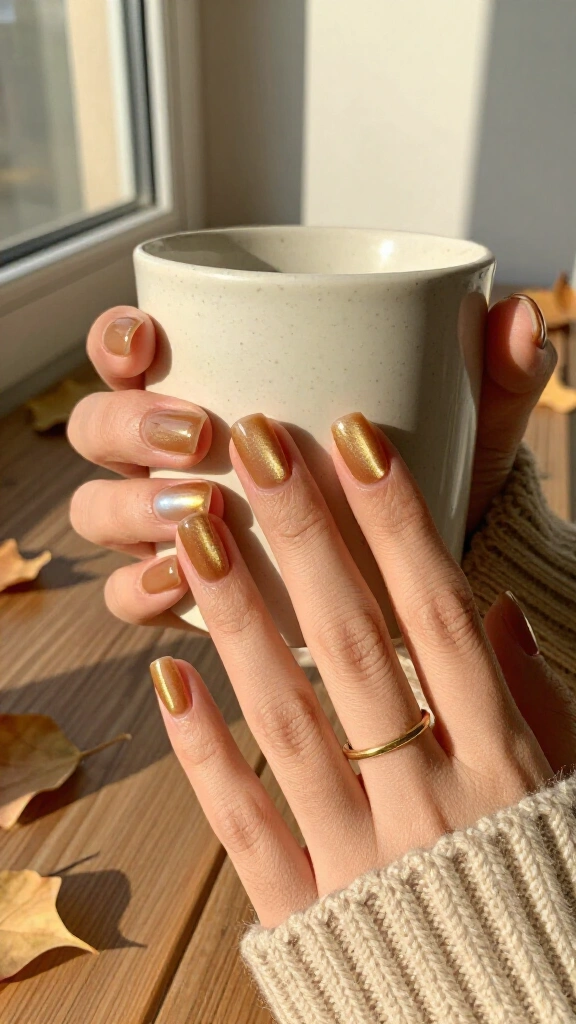
Adapt the chrome glaze trend for autumn by layering pearlescent powder over a warm caramel or amber base. Buff the chrome powder over a cured non-wipe gel top coat (or gently over nearly dry traditional top coat) using an eyeshadow applicator.
The reflective powder gives short nails high shine and depth without heavy nail art layers. It takes under thirty seconds per hand to apply.
17. Charcoal Micro-Cuffs
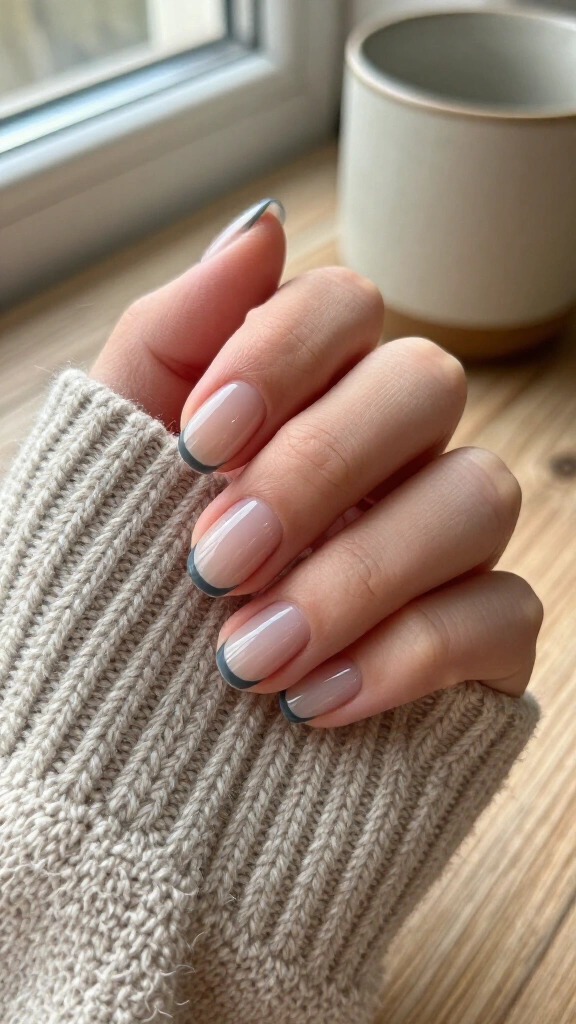
Charcoal polish offers a softer contrast than stark black. Draw a very thin line right along the bottom edge of your nail bed, following the natural curve of your cuticle.
This micro-cuff frames the nail neatly and gives short lengths a tailored appearance. Seal the line with a quick coat of clear polish so the fine edge does not chip.
Pro tips for quick manicure success
- Prep cuticles before painting: Push back cuticles gently with a wooden stick so the polish adheres directly to a clean nail surface.
- Pick high-pigment lacquers: Use opaque, one-coat polishes to save several minutes on drying time.
- Keep a fine liner brush handy: A thin detail brush gives you far more control over lines and dots than standard wide bottle brushes.
- Apply cuticle oil daily: Moisturized skin keeps your borders neat and prevents chipping around the nail edges.
Pick your favorite warm brown or olive shade, grab a toothpick, and try one of these quick accents the next time you paint your nails.